Clutch Replacement...
This is by no means a comprehensive set of instructions for clutch replacement on the Evo 4-6 range., but it'll certainly help.
It is written from memory, a few weeks after the fact. As such i may have missed a few things out, but its certainly got all the main pieces of information included which you will need should you decide to change the clutch on your Evo. The job itself isn't *that* difficult, but it is time consuming. It took me 12hrs to do. With this tutorial hopefully it will take you alot less time, as you now won't make all the mistakes i did in dismantling the car, a given example been the removal of the nearside output shaft. I was trying to get the shaft to budge for over 30 minutes, when it occurred to me that i may possibly be able to hit it from behind and remove it that way. I inserted a bar into the transfer box, hit the back of the offending shaft and out it popped! 30 second job that took well over 30 minutes! (and I've since learned i didn't even have to remove this shaft!).
Anyway, here's the instructions, i hope they are of use to you. For what it's worth, the second time i replaced a clutch i halved the time it took to do the first one.


|
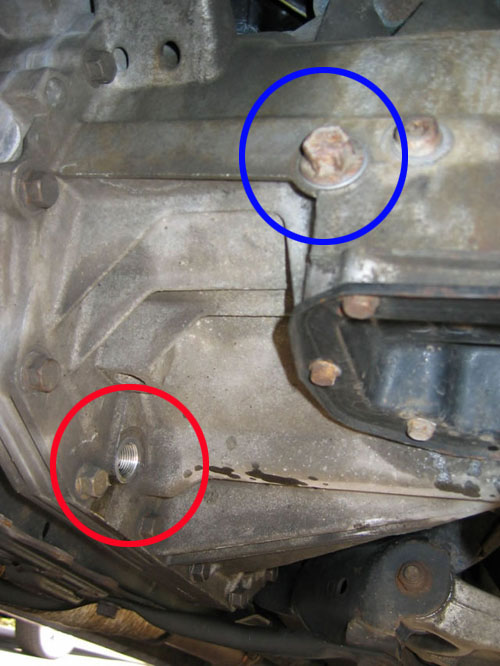
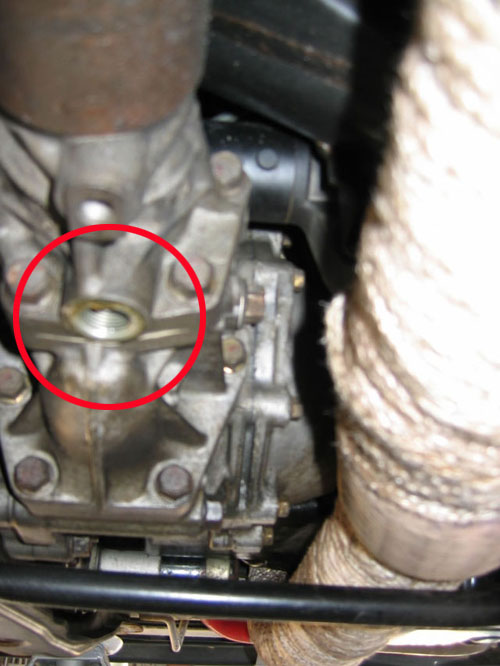
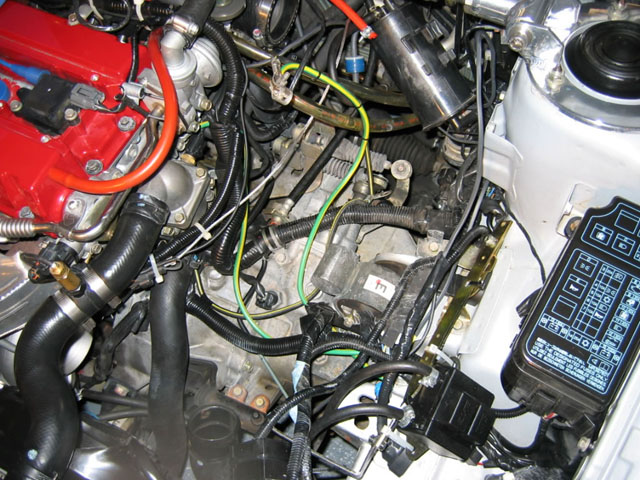
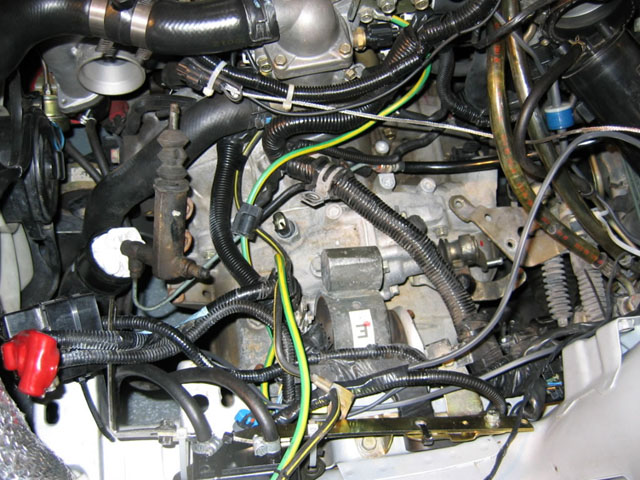
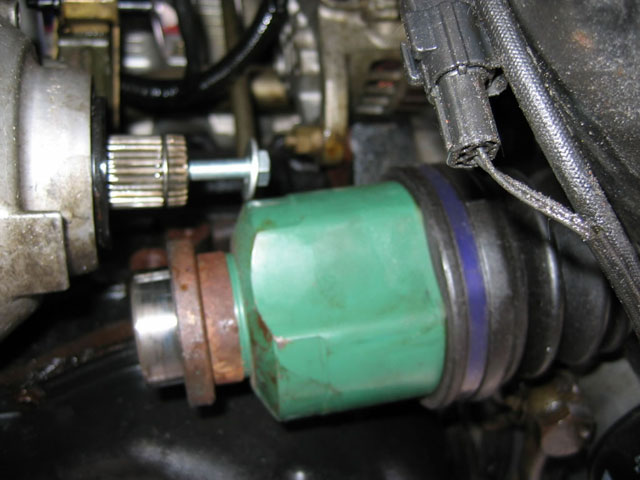
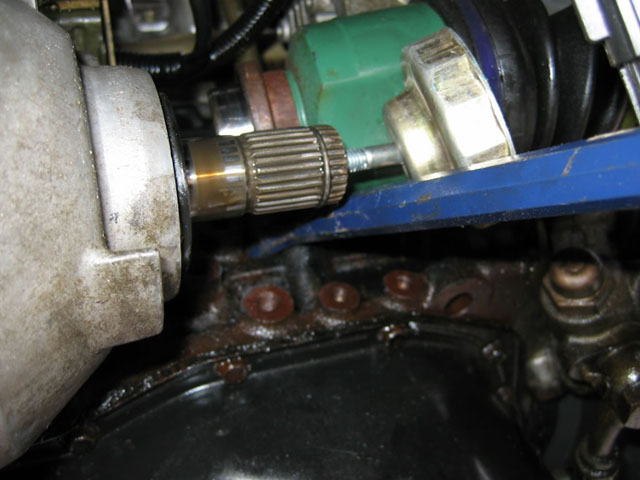
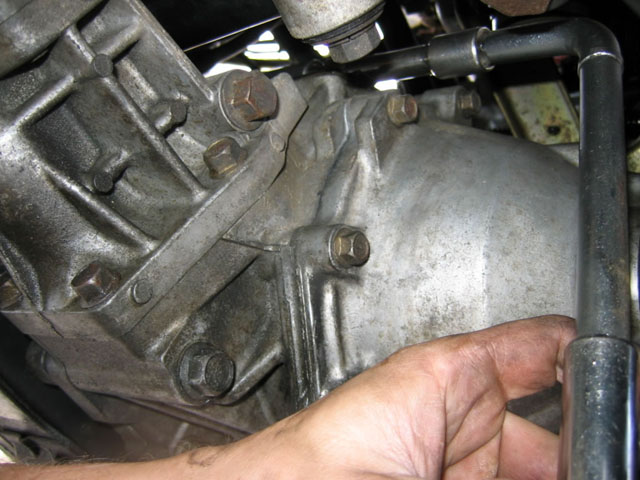
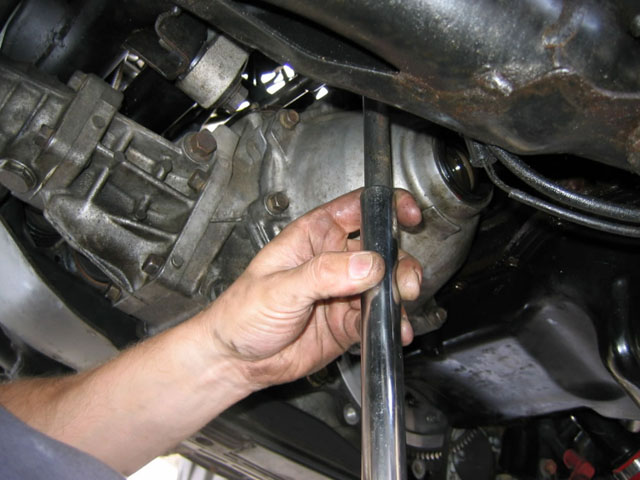
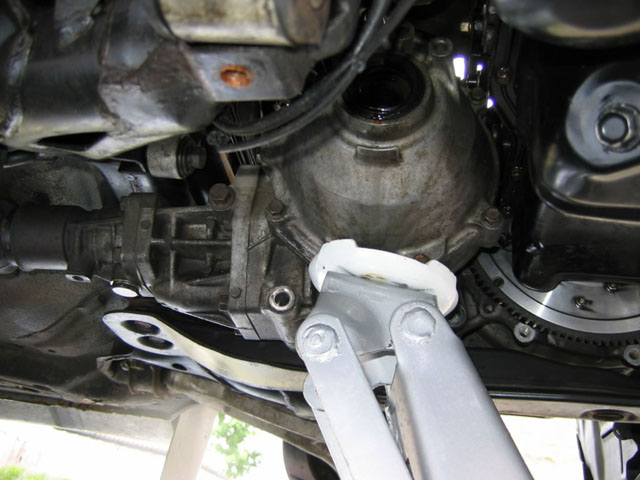
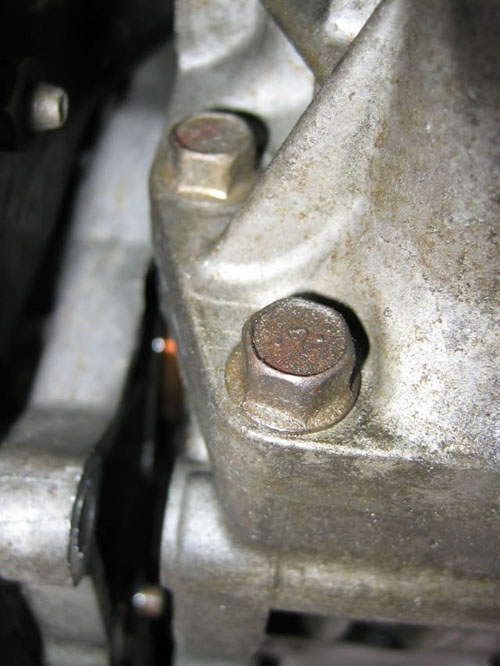
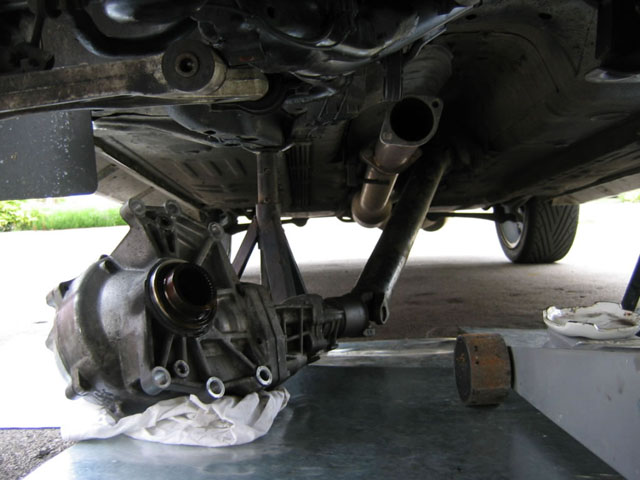
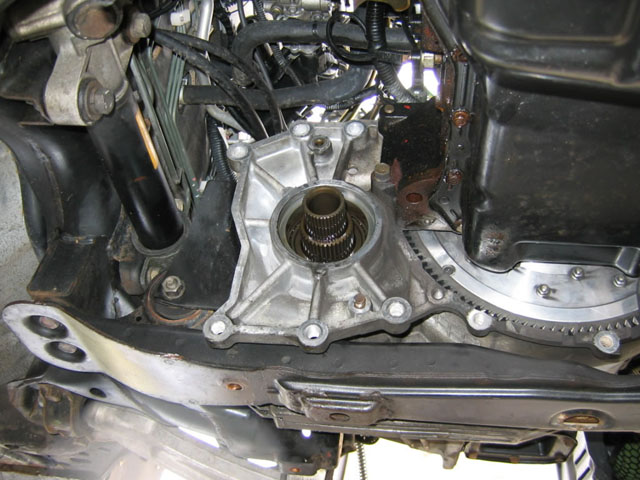
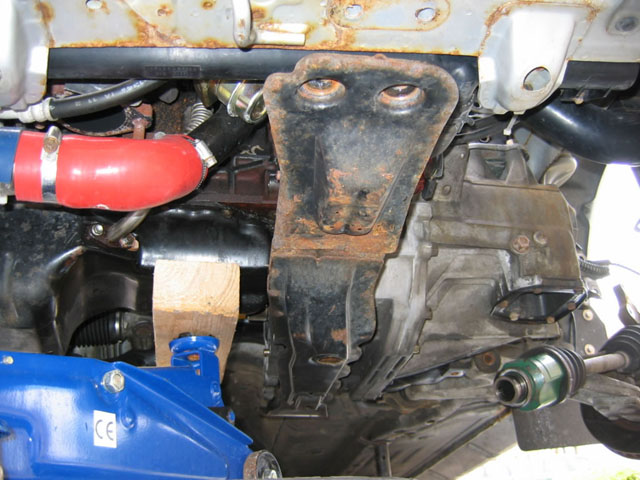
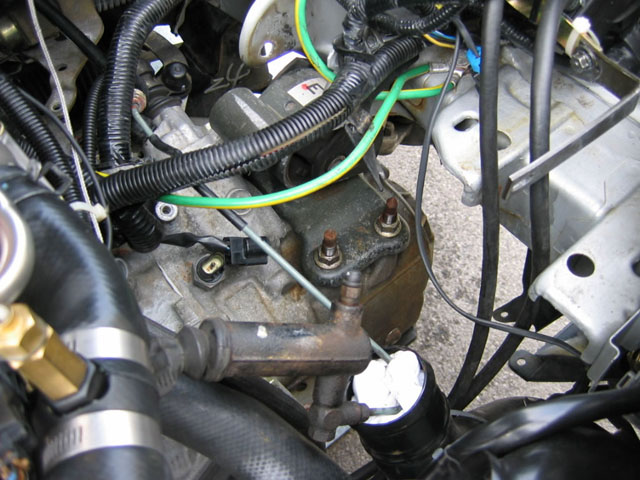
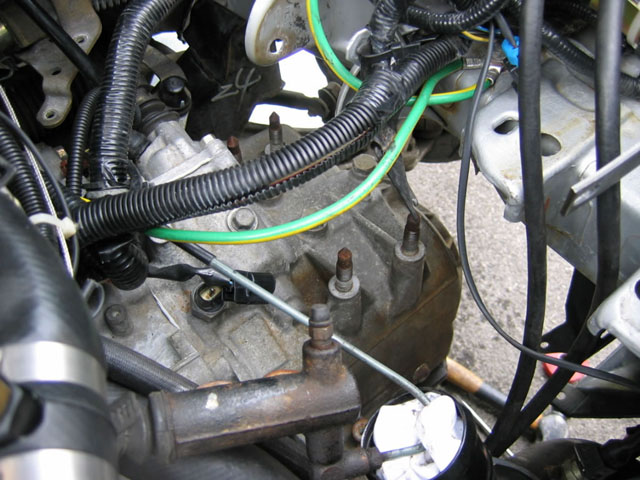
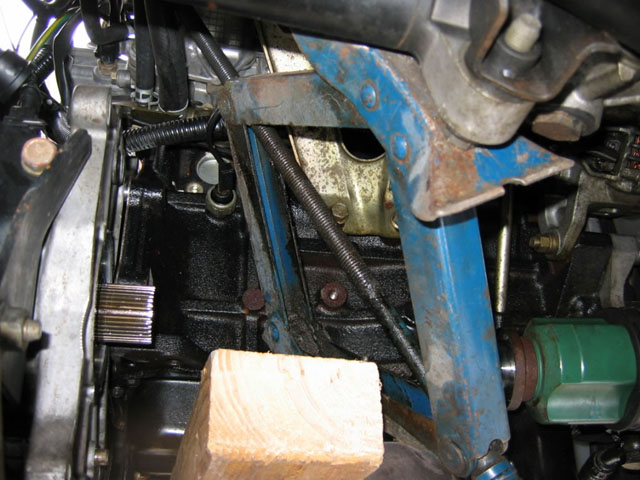
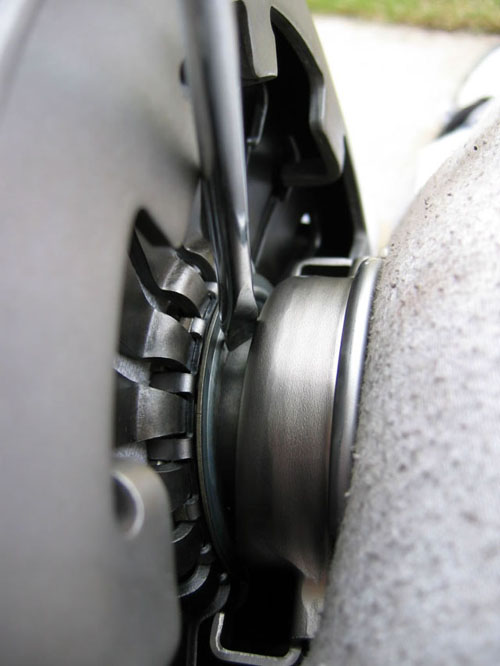
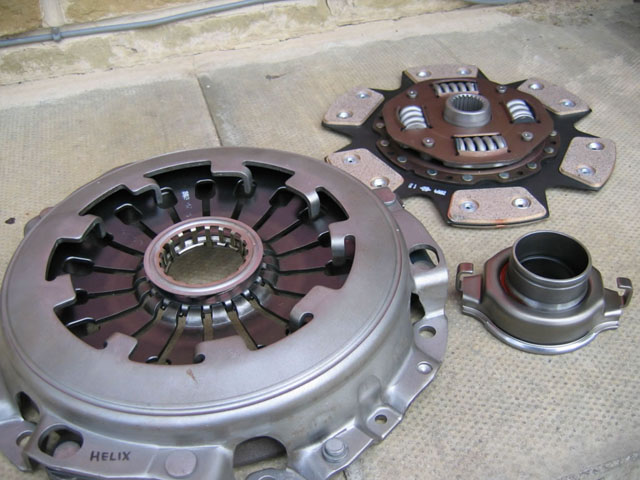
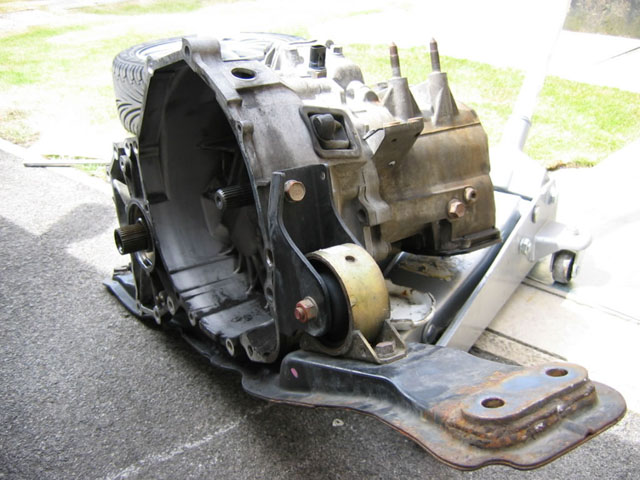
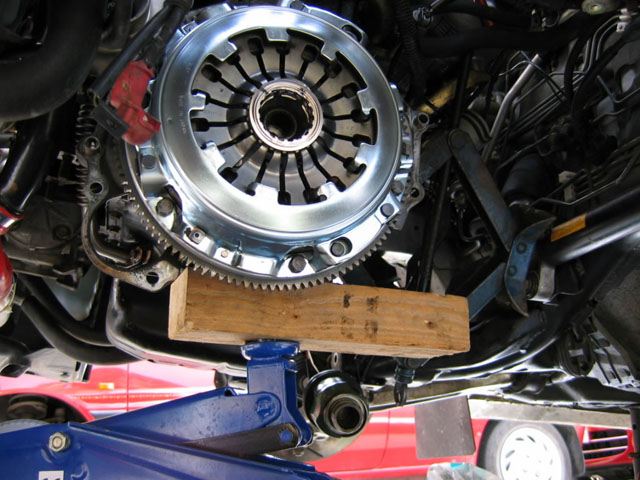
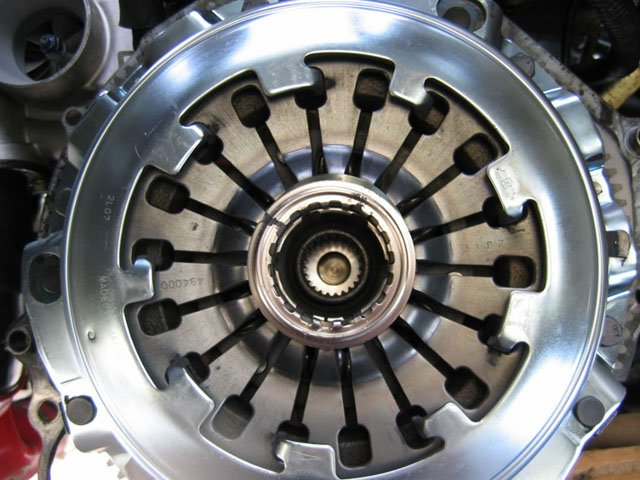
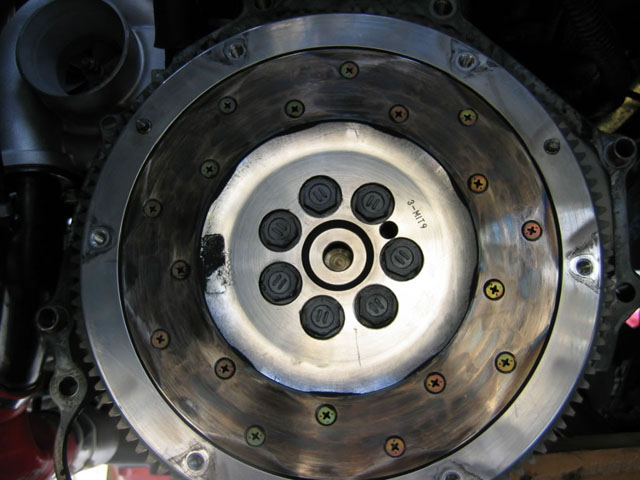
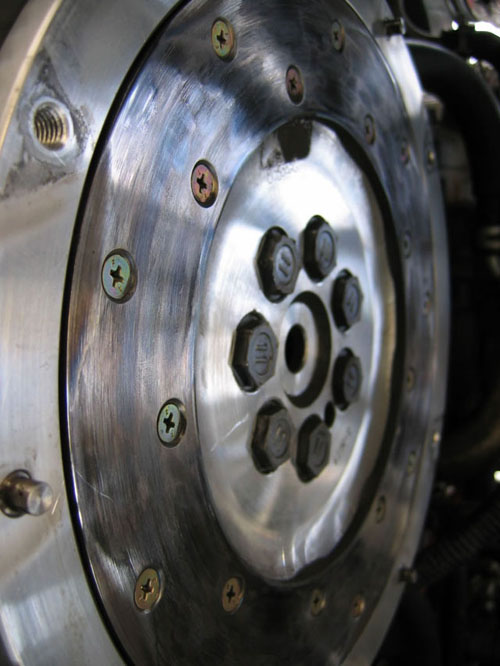
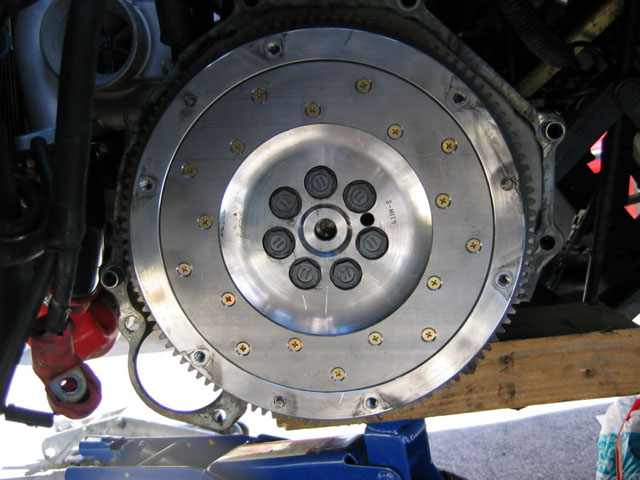
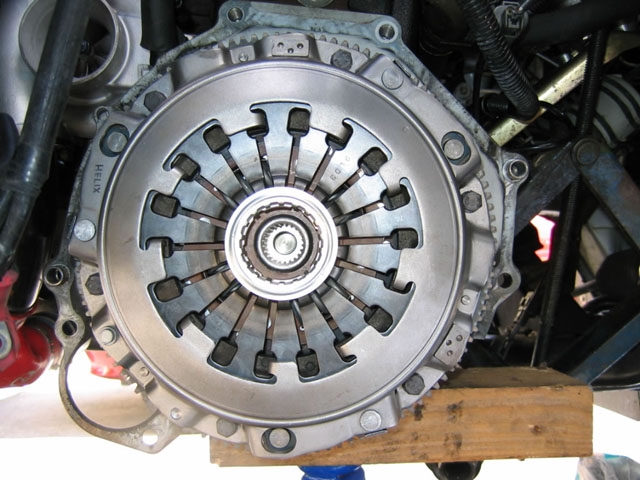
Drain the oil from the gearbox - you can see i have circled in red the removed the drain bolt. The bolt circled blue is the filling hole. Upon re-assembly fill the gearbox until oil drips from the hole. Remember to check that the car is totally horizontal to the floor. The transfer box drain plug is also shown removed. The refill plug is to the right hand side of the picture, midway up the side of the casing. *Note that unless you plan to separate the transfer box from the prop shaft, you can leave this oil untouched. Remove battery, airfilter box, rubber pipe and plastic pipe from intercooler to plenum chamber.Remove exhaust and starter motor. Unbolt gear cable bracket from gearbox. Release the cables from the selectors by removing the pin and washer. Unbolt clutch slave cylinder,remove all cables from their plugs on the gearbox. Remove the driveshafts by undoing the struts at the bottom and the front bush bolt from the lower arm. Use a crow bar to prize the drive shaft from the output shaft. Ignore the bolt seen here in the output shaft - thats the next step.... Output shaft removal is easy, in event of not having a slide hammer use an 8mm bolt and large washer in the end of the shaft. Apply pressure with a crow bar, and while keeping the pressure applied hit the bar with an hammer to shock the shaft free. Remove nearside output shaft by using socket extension bar to knock it from behind (i.e. through the hole left from removing the offside output shaft.) Bare in mind that that shaft can apparently be left in situ. Undo and remove the bolts holding the transfer box to the gearbox. Undo and remove the bolts holding the transfer box to the gearbox. Support the transfer box weight with a hydraulic jack as it is heavy. Wriggle the transfer box and pull away from the gearbox, and then lower using hydraulic jack. Once removed push away to one side, leaving the propshaft still attached - if you are not careful the two will separate, as the propshaft only pushes into the transferbox with nothing to hold it in. If it does then simply push the two back together. If they do separate though you may loose some oil which will need topping up. Gearbox with transfer box removed Support weight of engine and gearbox with a jack under the engine. Remove the four bolts holding the cross member to the chassis of the car. Remove main bolt holding the mount to the cars bodywork. Lower engine and box slightly. Remove mounting completely from the gearbox. Using a scissor jack in between the engine and steering rack, push the engine as far forward as you can. Practise releasing the new bearing from the new clutch cover, before attempting it for real on the old one.To release the bearing prize a screwdriver inbetween the cover and the release bearing, and twist. On the car its self, push the clutch lever protruding from the gearbox as far towards the engine as you can, do this several times then hold it there. Insert a screw driver through the inspection hole at the bottom of the gearbox, and place the tip between the release bearing and cover, and twist the same as you did before when you practised on the new bearing and cover - note that you may need to prize at both the top and bottom of the bearing at the same time to get it to release.(Theres another inspection hole at the top ) Support the weight of the gearbox with an jack. Undo all the bolts holding the gearbox to the engine. Pull the gearbox away from the engine, and lower to the floor. This will mean tilting and lowering the gearbox at the same time once the main shaft is clear of the clutch cover. Pull gearbox clear Picture of engine showing gearbox removed, bottom jack supporting the engine, scissor jack pushing the engine as far forward to the front of the engine bay as possible. Remove old cover by undoing the bolts Fidanza flywheel with old plate. Fidanza flywheel with old plate. Fidanza flywheel with new plate New clutch lined up and ready for gearbox to be refitted. |
Refit all parts in reverse order to removal !
(Don't you just hate it when it says that!)
(Don't you just hate it when it says that!)
