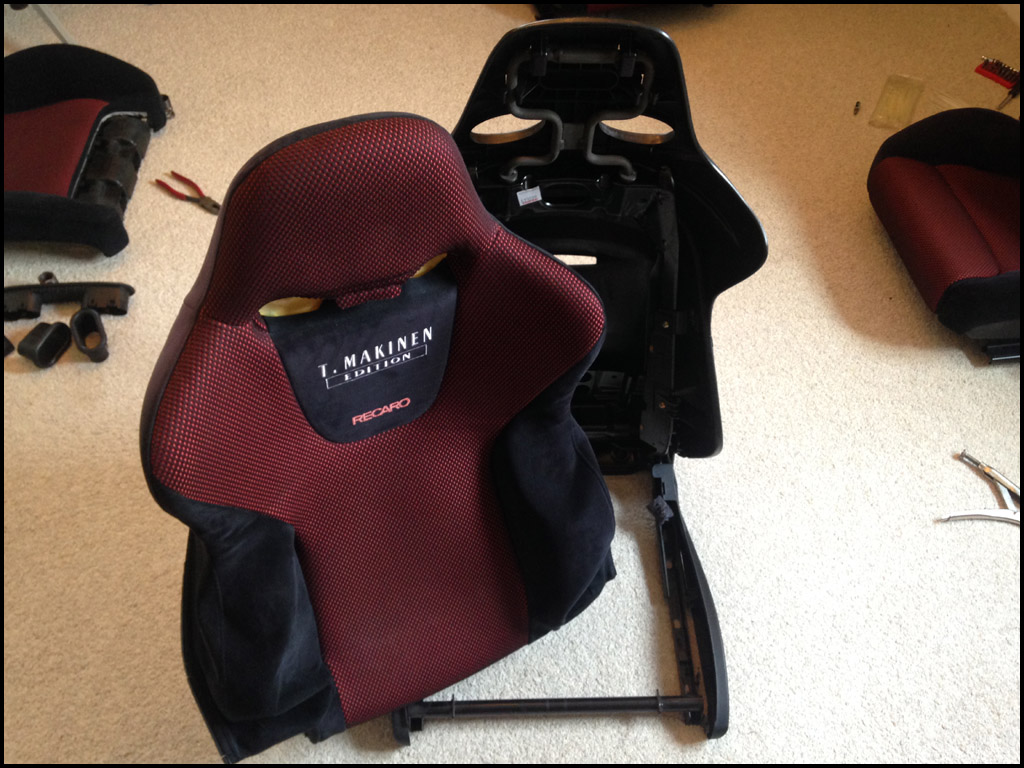
Seat Cover Replacement
Stripping and cover replacement of the Evo 5 and 6 Recaro Seats...
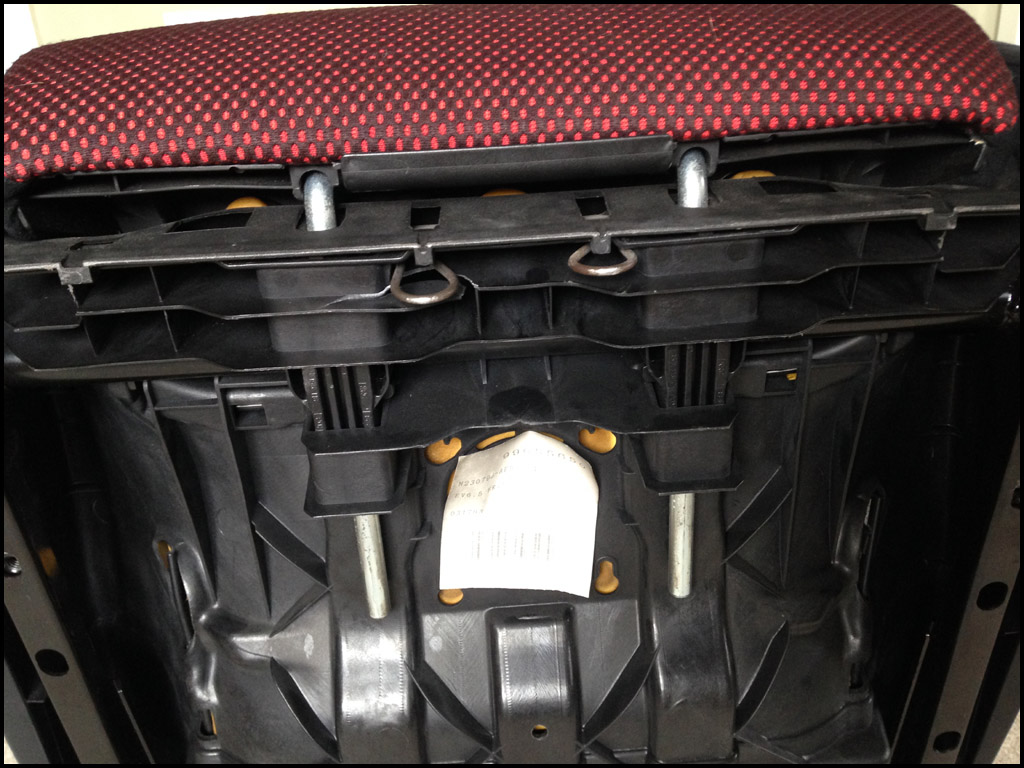
We’ll start off with the base of the seat and then move onto the back of the seat after that.
We’ll start off with the base of the seat and then move onto the back of the seat after that.
|
|
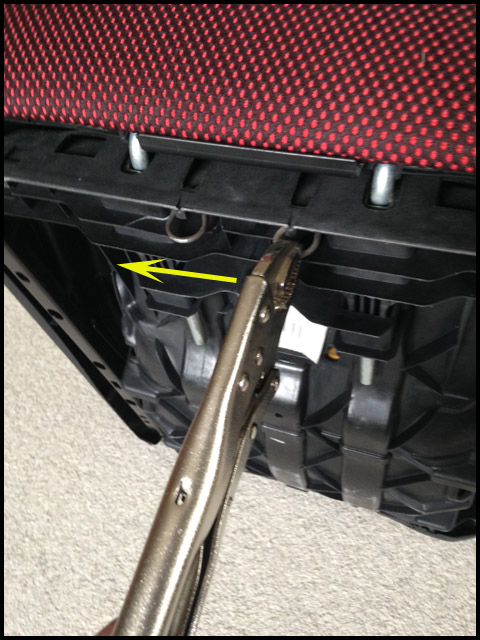
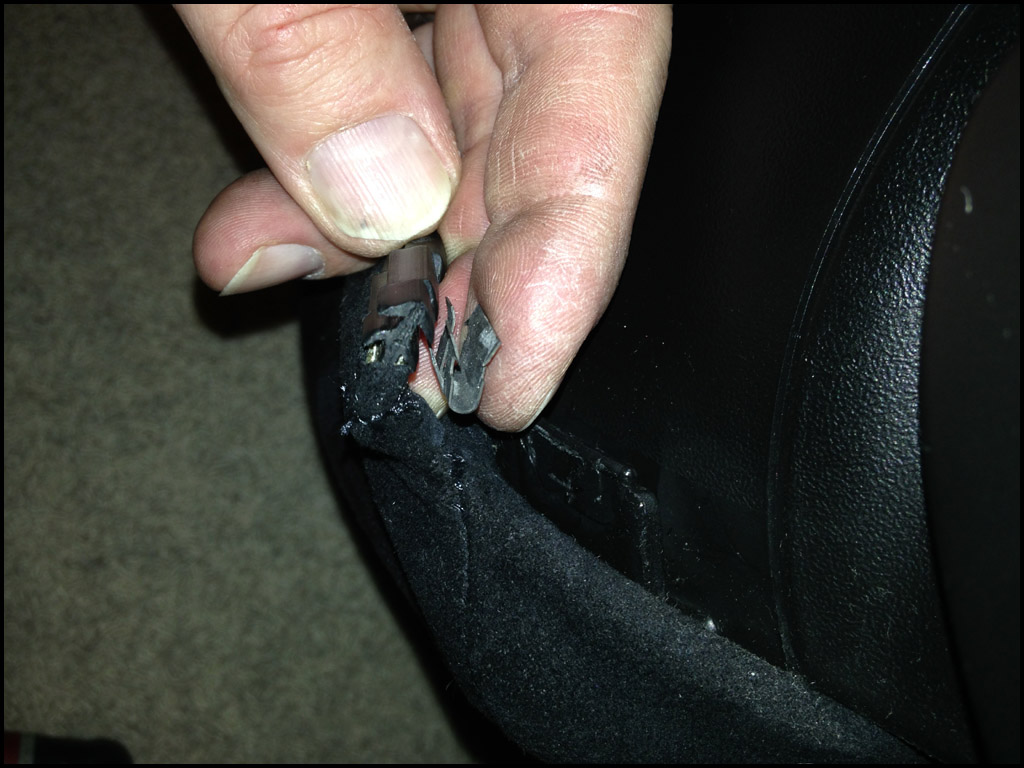
To release the base extension you need to remove the spring clips. Using pliers or mole grips, grip firmly with one hand and give the grips a firm tap towards the centre of the seat, this will release the clip. Remove the second clip and the cushion is free to be removed.
|
|
|
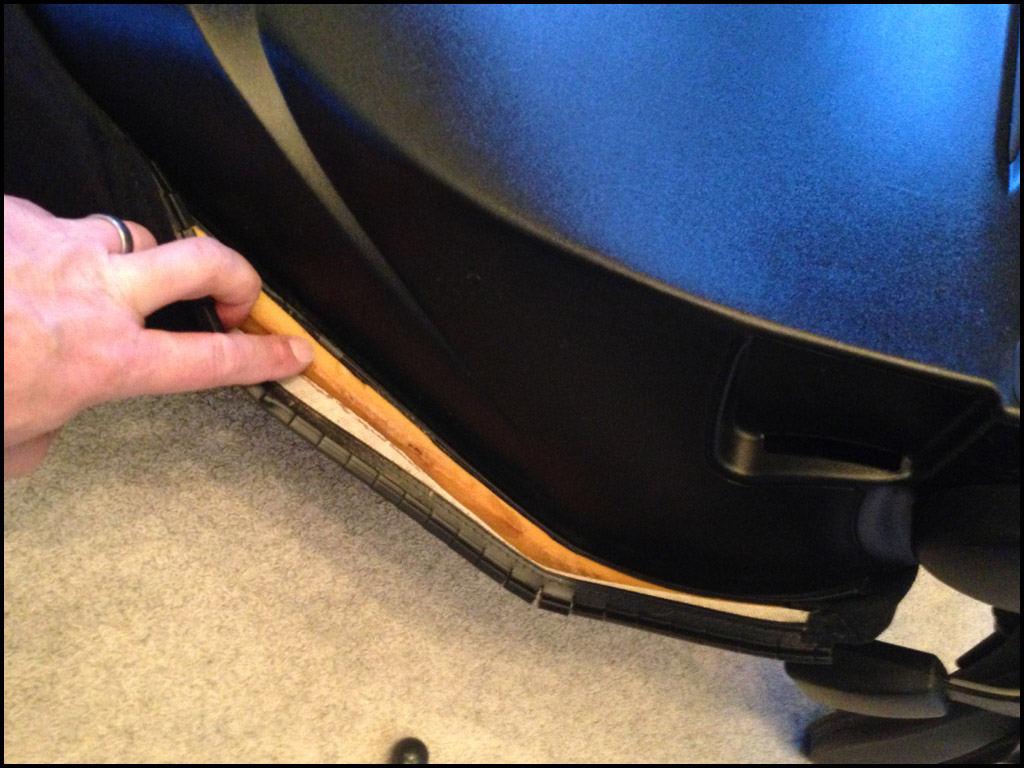
You will now be able to remove the inner cover. Lift at the front and lever it out |
|
The main part of the seat base is relatively easy to remove. There are two plastic retainers that hold the front of the seat down... |
|
|
These are removed by pushing inwards on the two tabs, and forcing the retainer through the box section... |

|
|
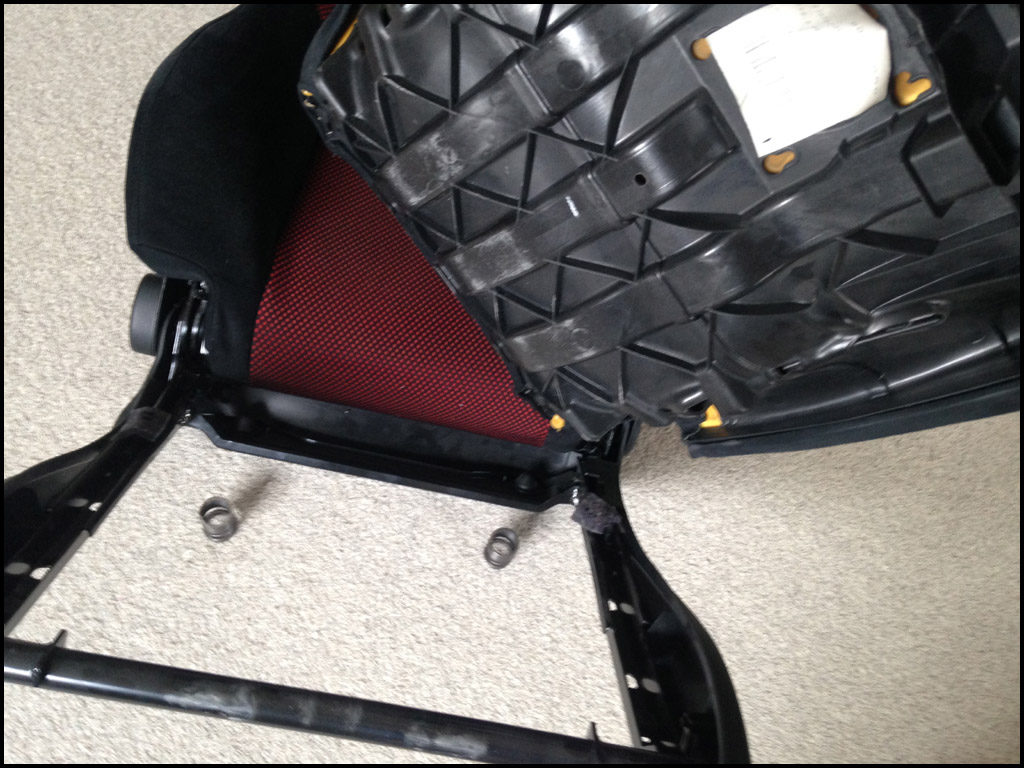
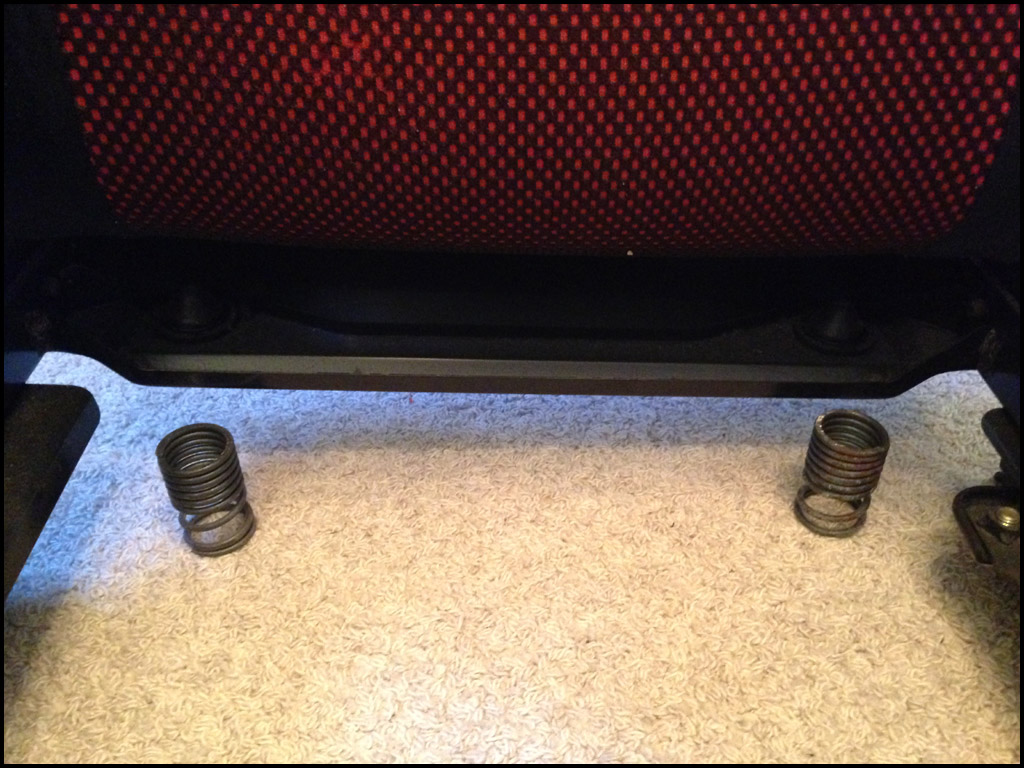
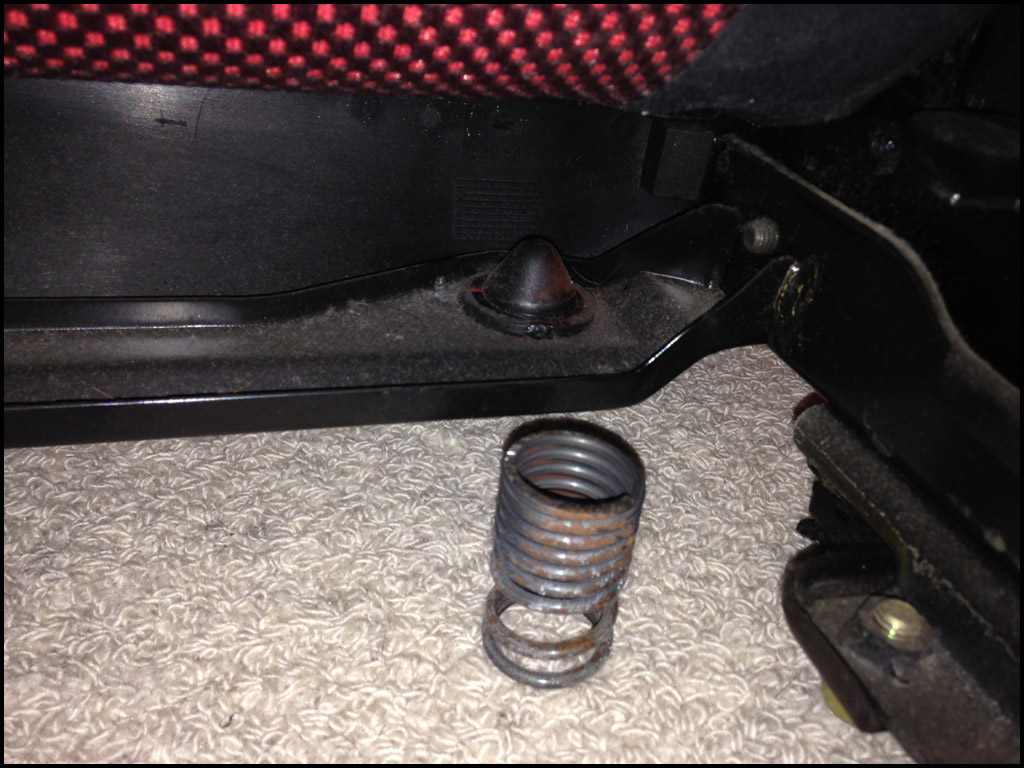
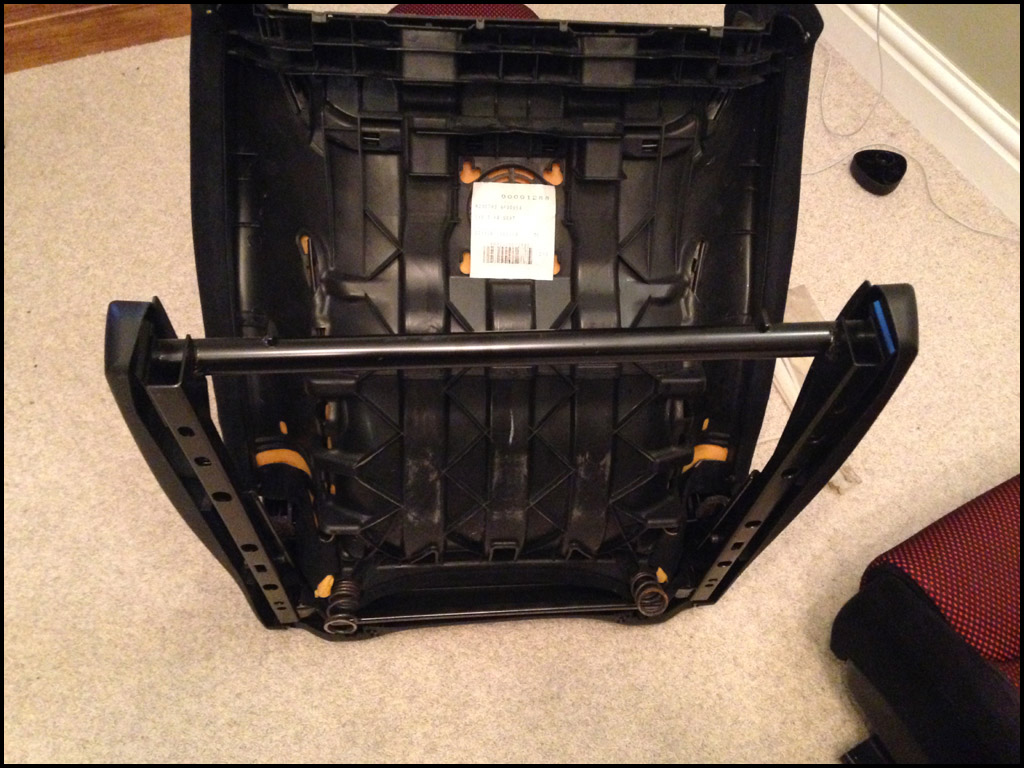
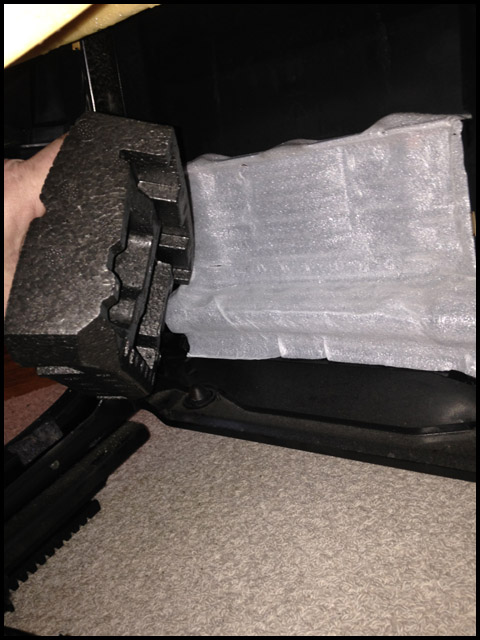
Lift the front of the base upwards and outwards. The only thing holding the rear in place are two springs so you will find the unit simply pulls away from the chassis... |
|
|
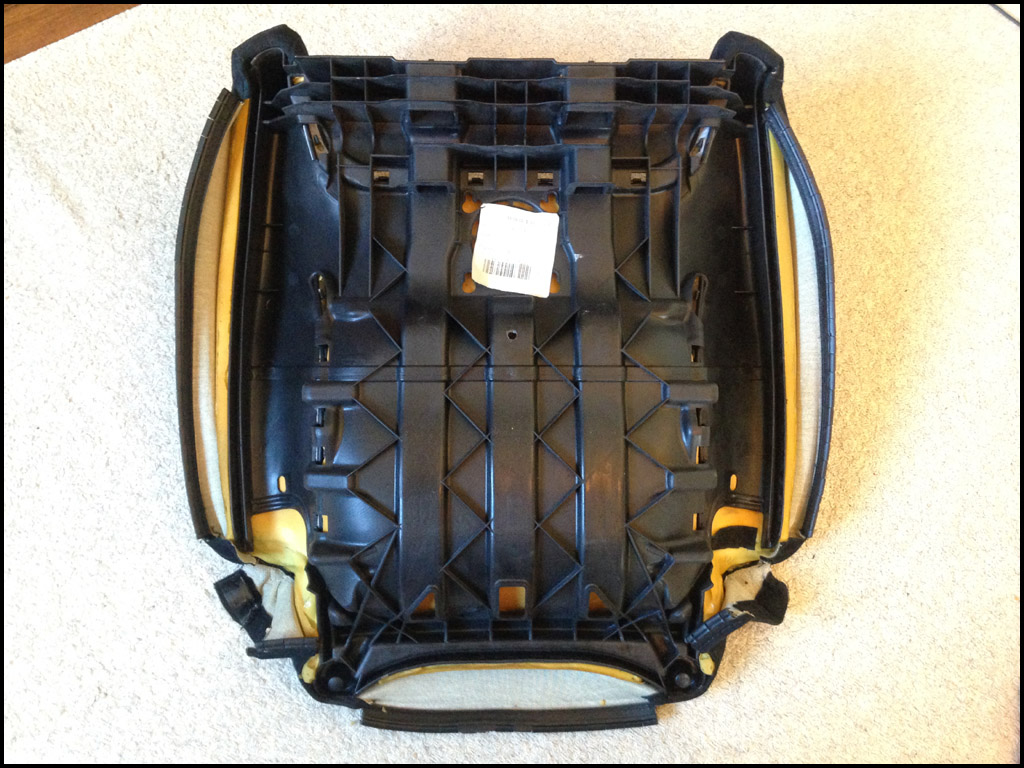
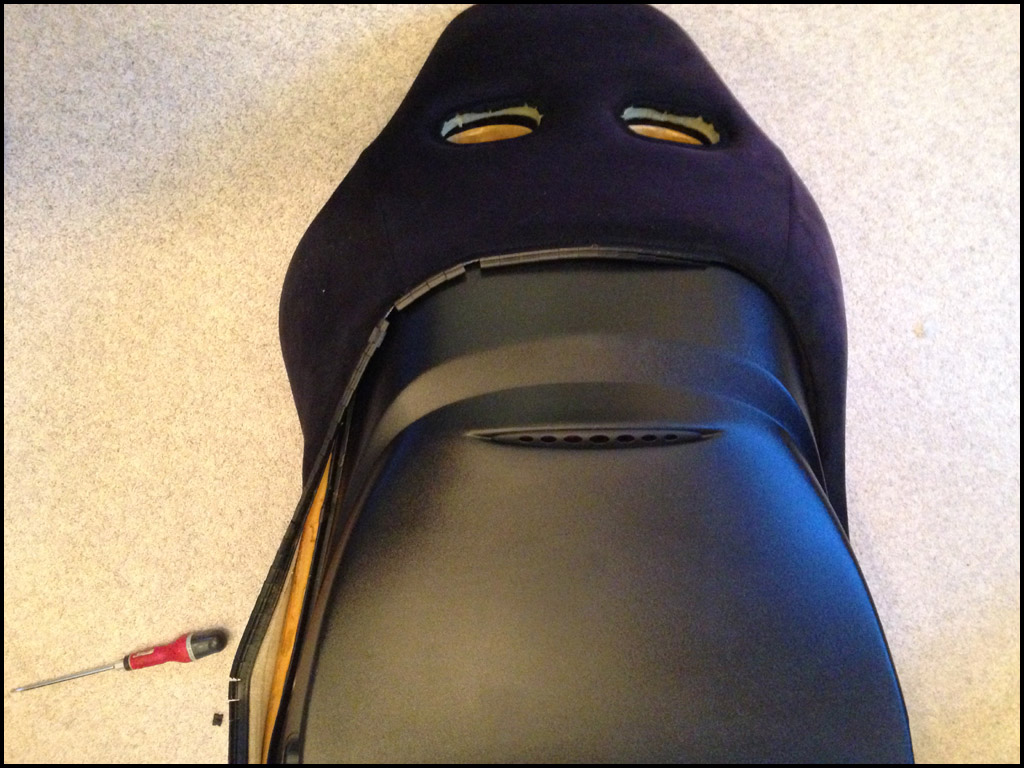
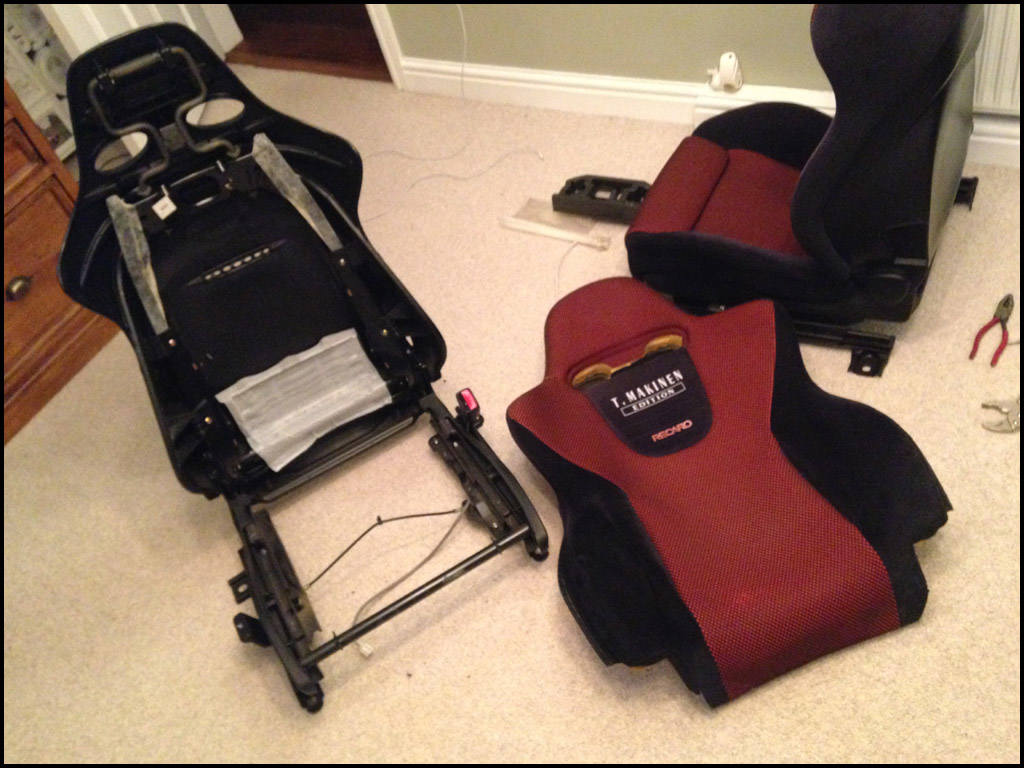
The base can now be stripped if required.
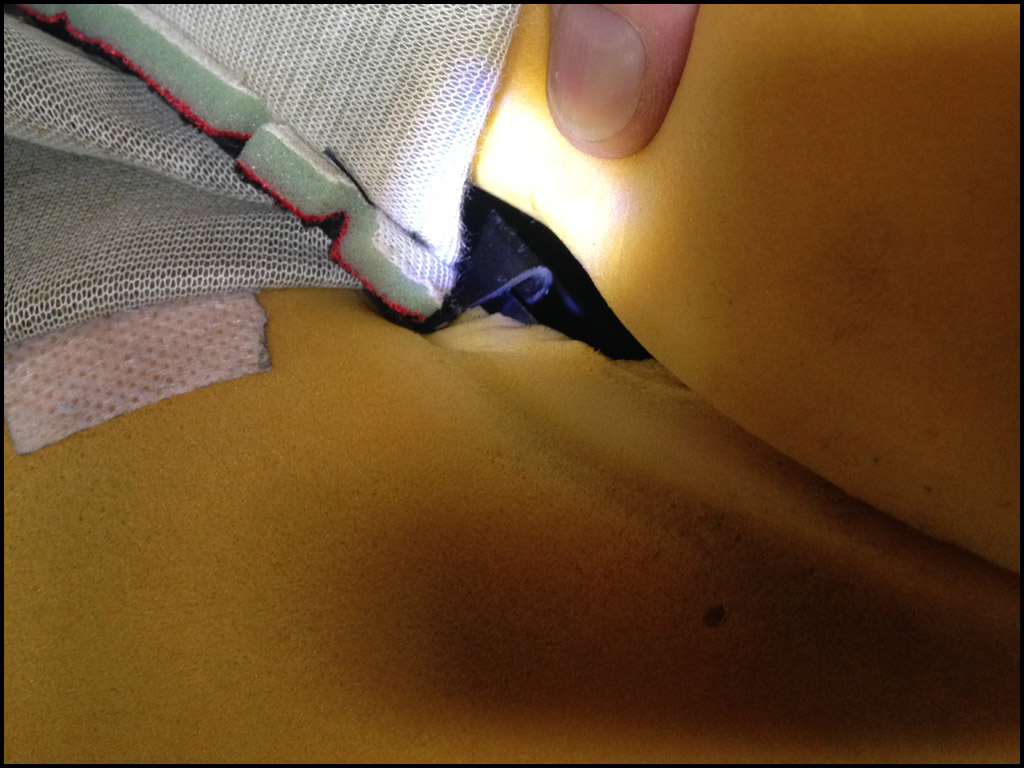
Underneath of the base at the rear, lever the cloth out of the channel and release the Velcro at each side... |

|
|
Lever the cloth out the sides and front corners... |
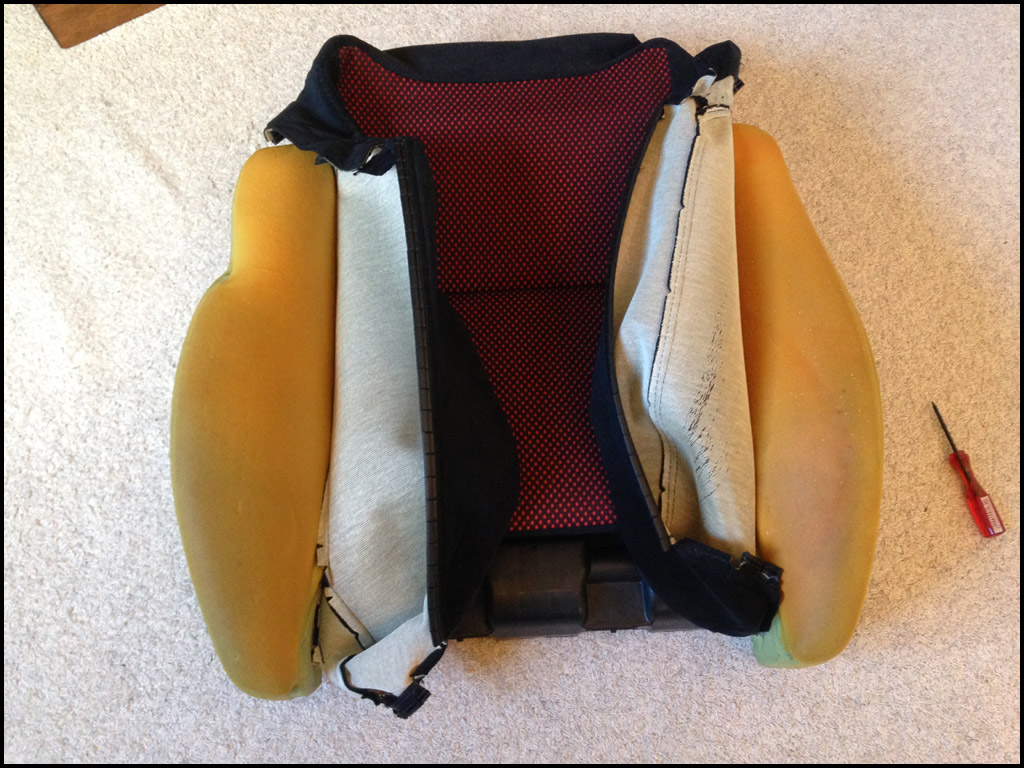
Flip the base back over and peel back the cloth on the sides... |
Along the front unhook the fabric.... |
And going back to the underside unhook the fabric down each side... |

The foam and fabric will now part from the base... |
|
|
If you want to remove the fabric completely from the foam you’ll have to remove the metal rings that hold the two together. Twist with a pair of pliers and they come apart easily enough... |
|
|
Upon re-assembly use ty-wraps, just make sure that the cut ends face down into the foam and not upwards where they could potentially pierce the cloth.
The base unit is then put back together in the opposite way to which it was dismantled – fairly easy and nothing to note. |
|
|
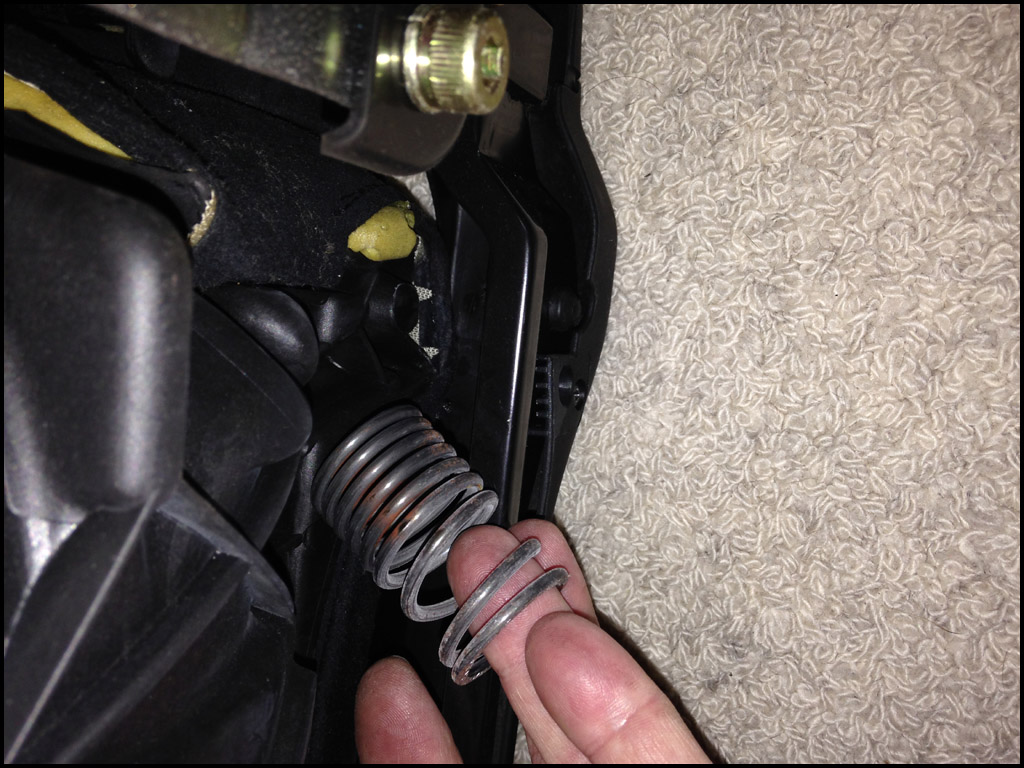
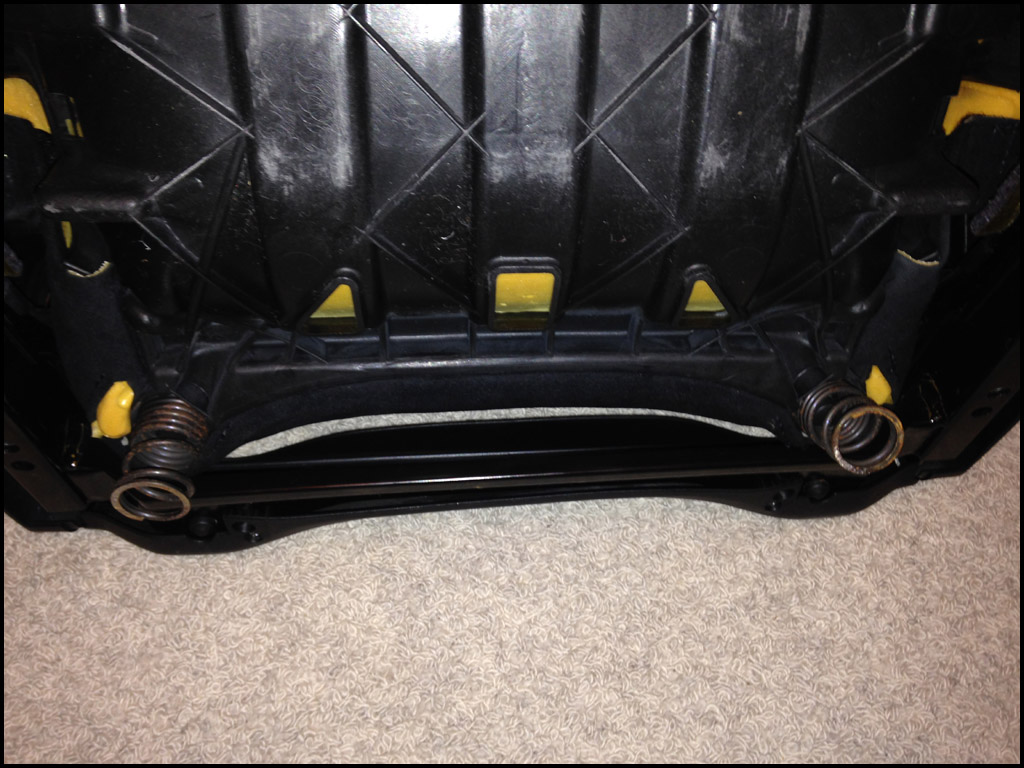
When you come to refit the base back to the chassis sit the two springs in their seats and lower it back into position. You’ll have to guide the springs back over the cones in the chassis but its easy enough to do from the front of the seat. If you do struggle you can remove the back plastic for access.
|
Stripping and Re-assembly of the Seat Back...
|
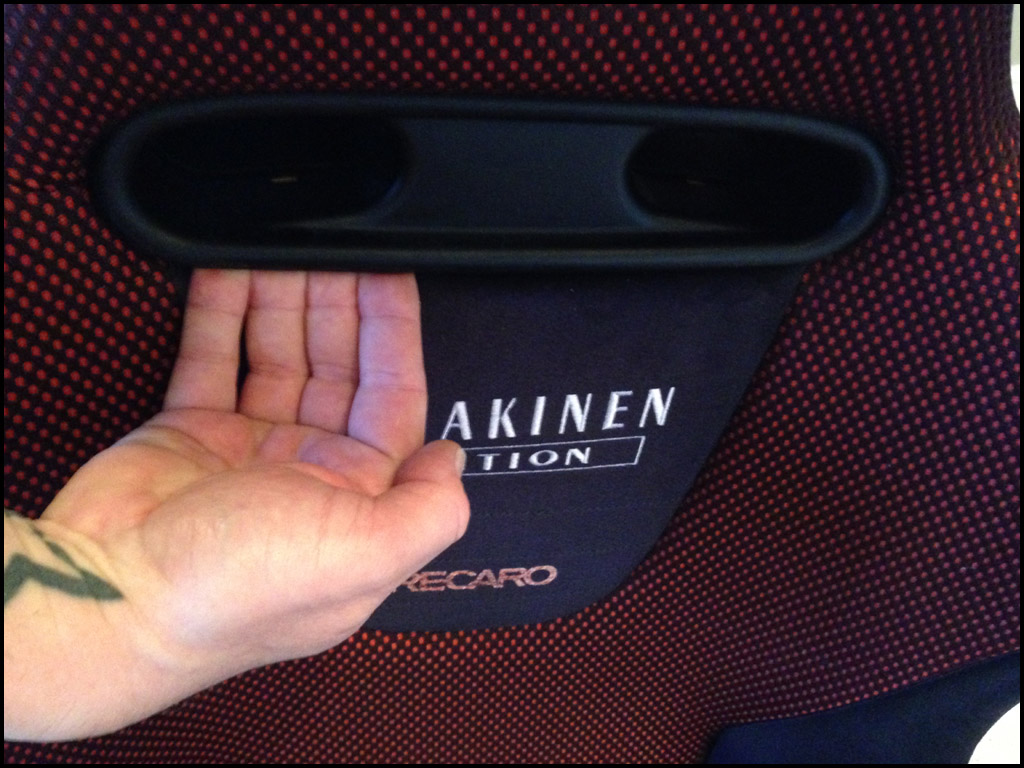
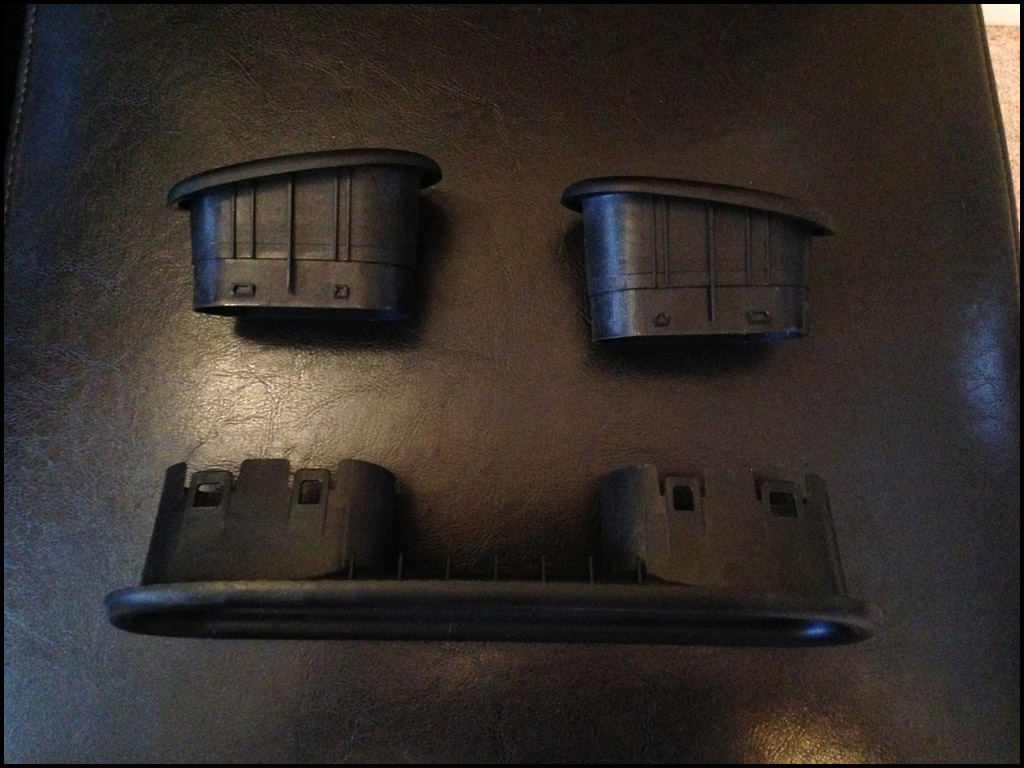
Start by pulling firmly outwards at the bottom of the harness guide, this will release the bottom clips.
|
|
|
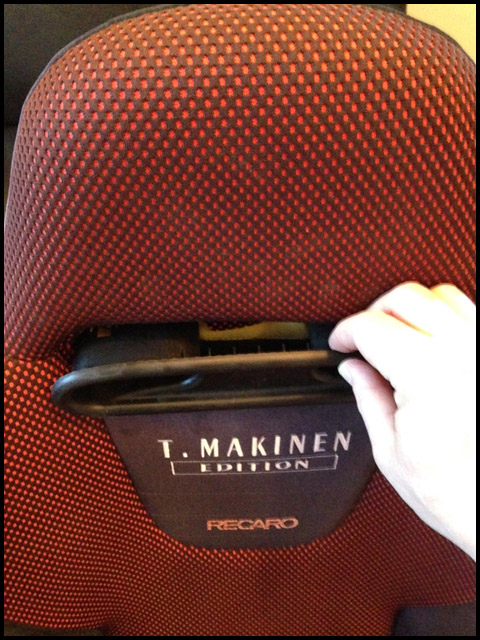
Then pull outwards at the top and the front will be released |


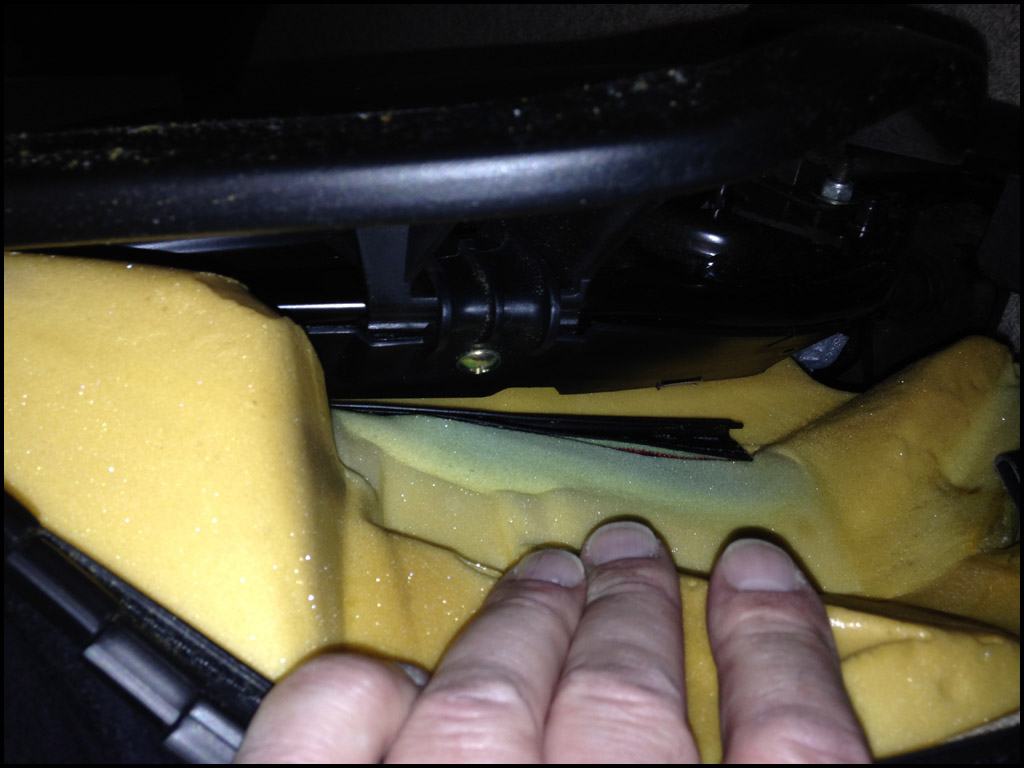
Moving to the bottom of the seat next to the winder push the fabric where circled in the direction of the arrow.. |
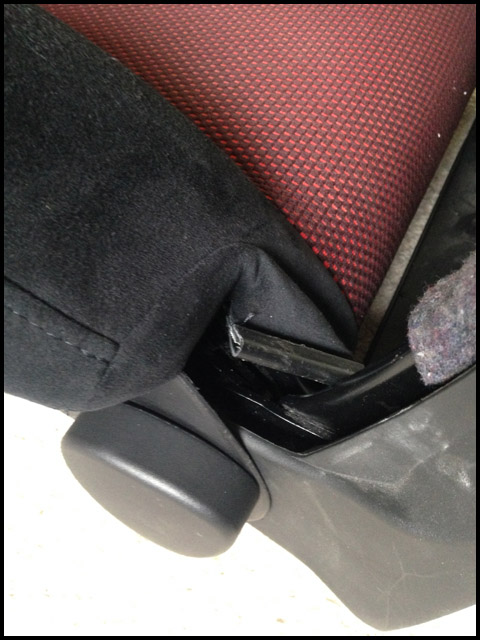
This will release it from the chassis... |

Do the same on the other side.... |
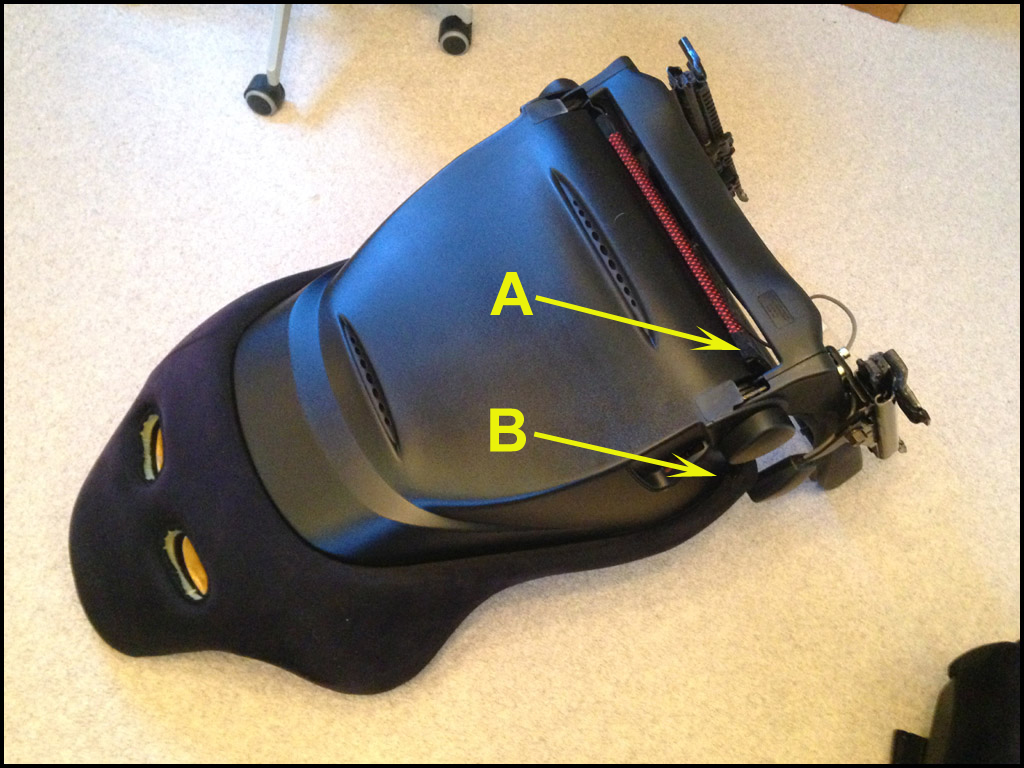
Flip the seat over and lay it face down... |
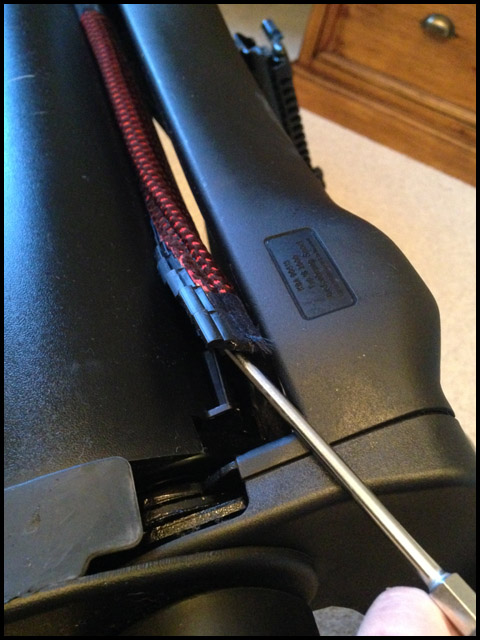
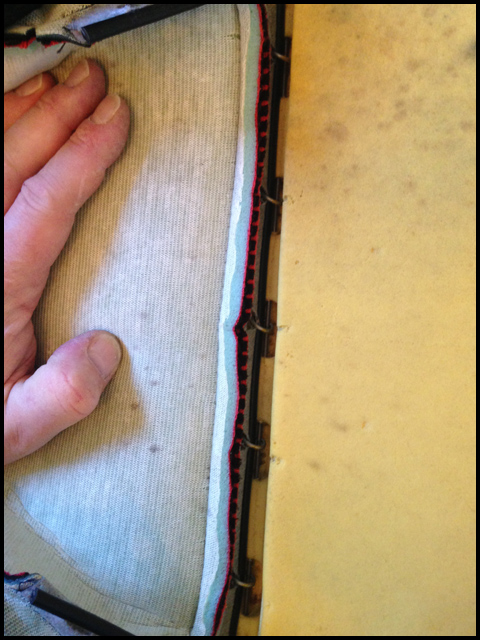
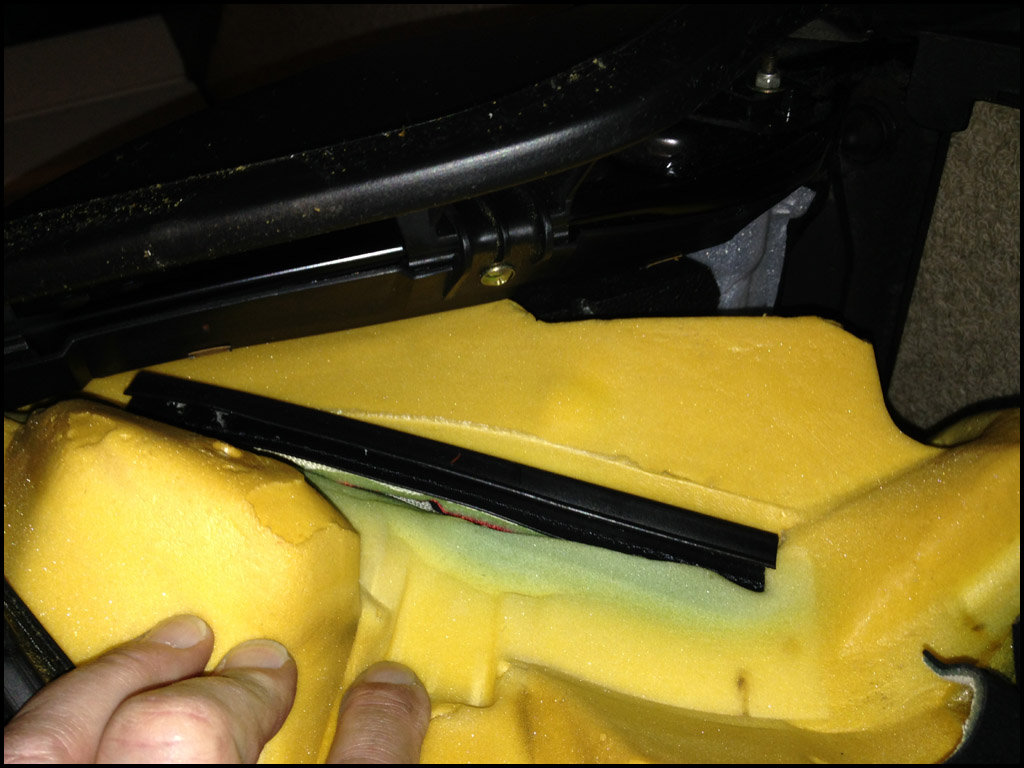
Use a flat screw driver and slide it along the channel Marked “A” to release the fabric from the bottom of the seat... |
At the point marked “B” pull back the fabric to expose the channel and first metal clip .... |

Use the screw driver to lever out the fabric... |
|
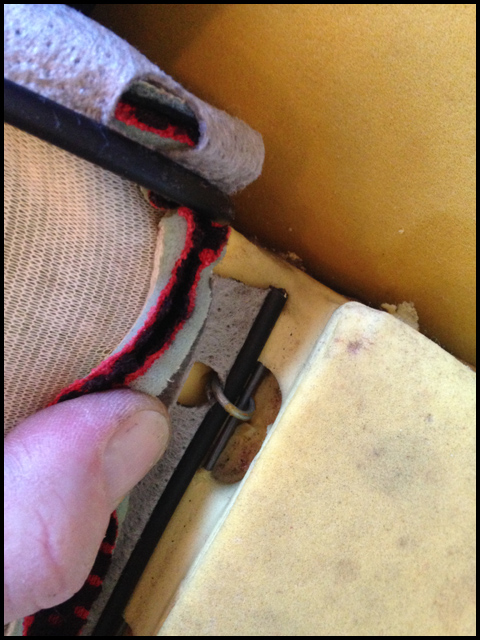
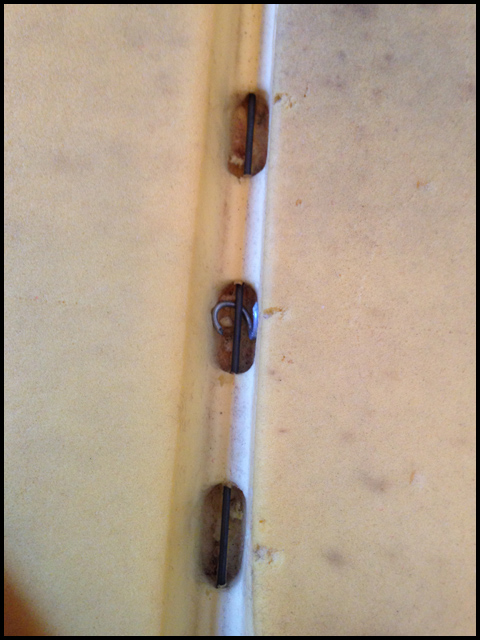
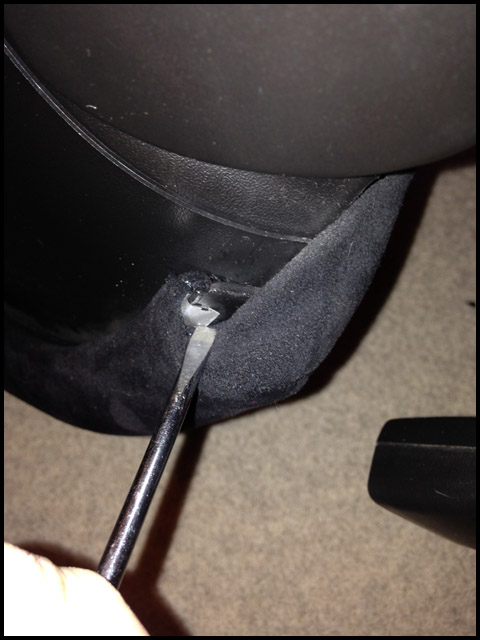
There are 3 metal clips on each side. Ideally lever the metal clip from the channel edge..... |
|
|
What you don’t want to do is pull the clip out with the fabrics plastic edging. The clips are fragile and will break if treated roughly. Run a flat bladed screwdriver along the channel to release the fabric. |

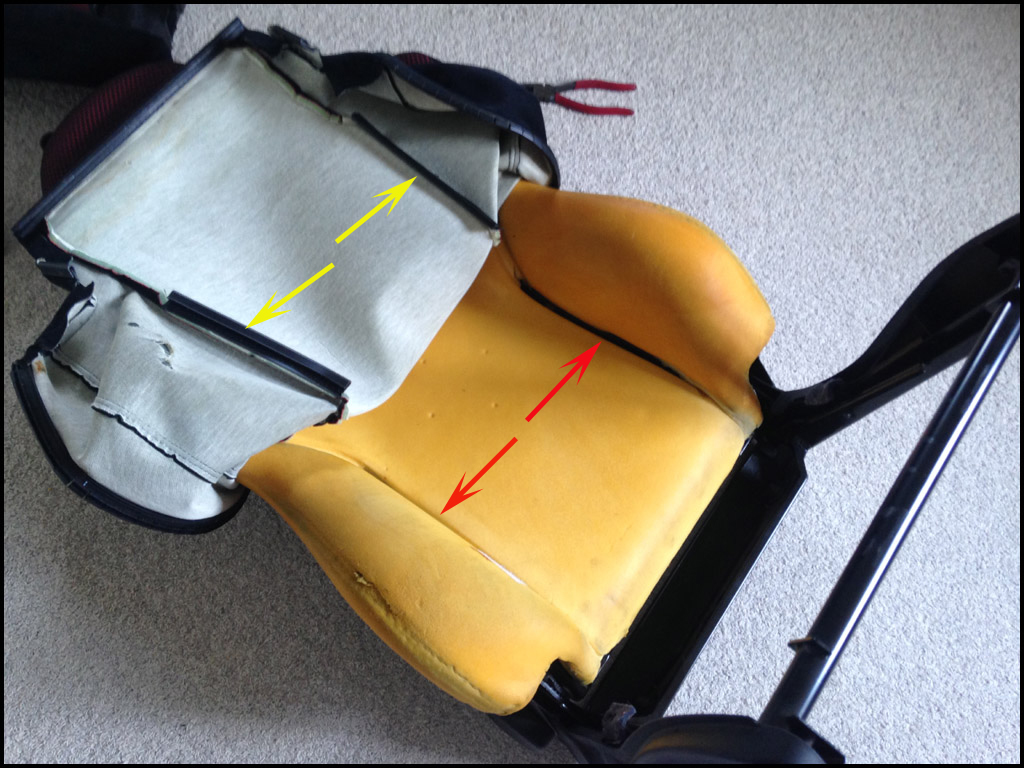
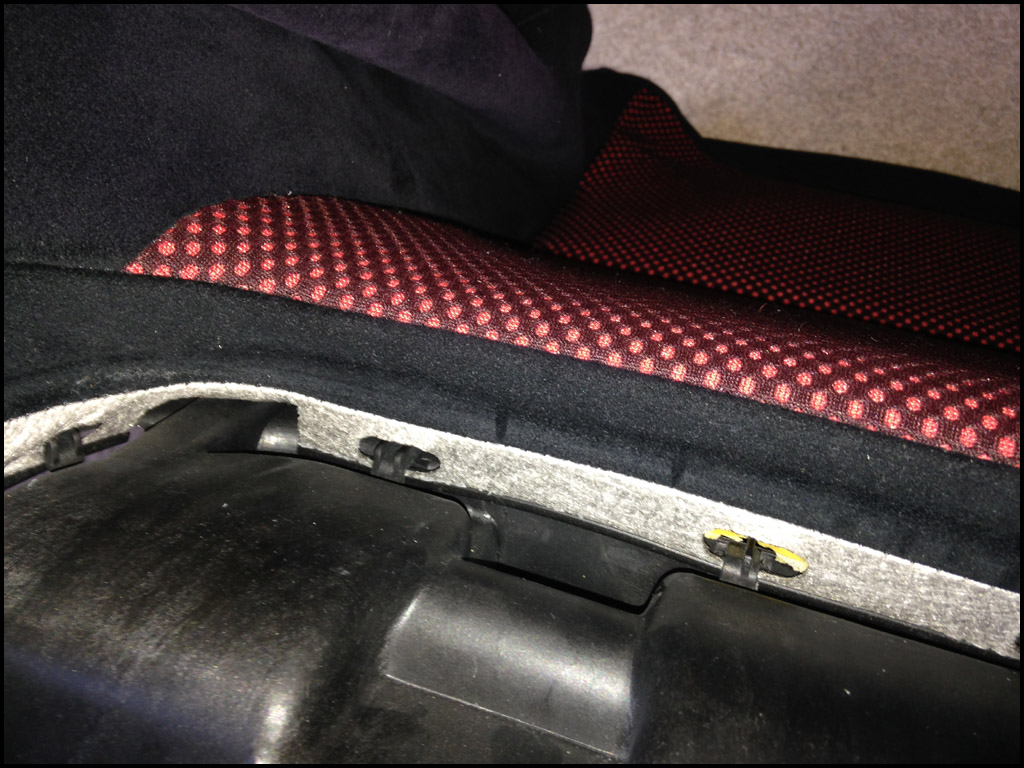
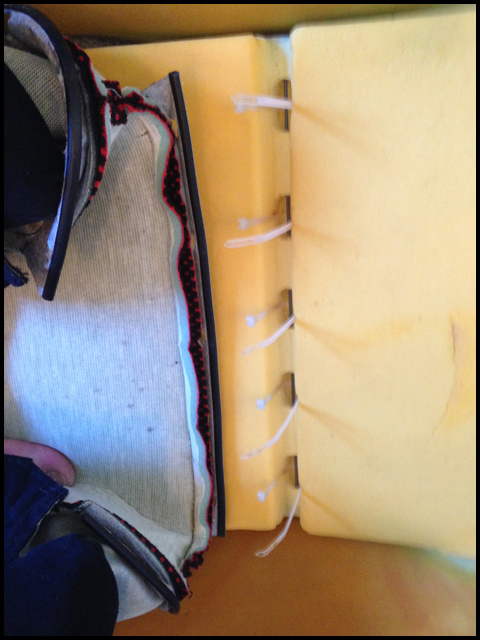
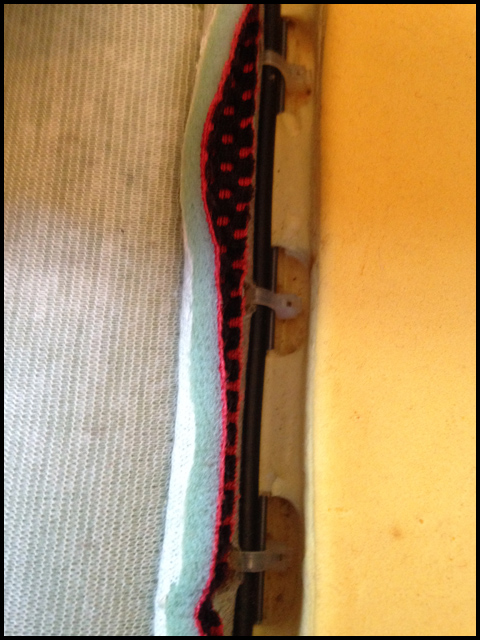
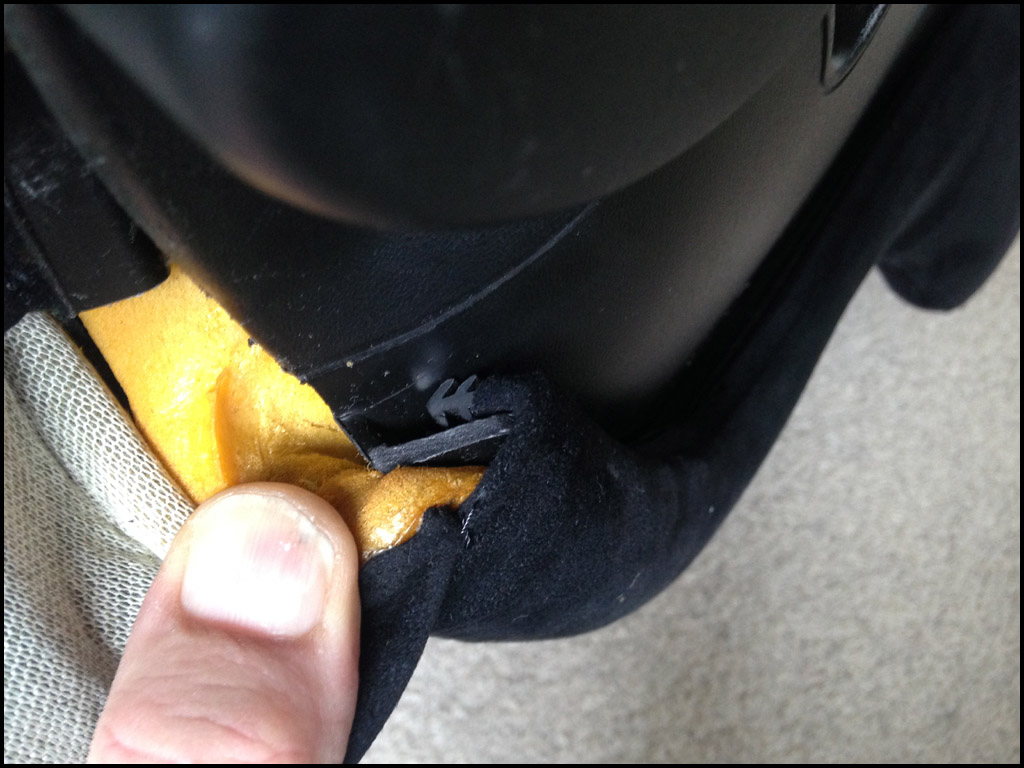
Turn the seat over so that it is facing upwards. There are two plastic channels that run down the inside of the seat cover (arrowed yellow)....
|
|
These channels pass through the foam (arrowed red) and clip over a length of plastic behind the foam...They simply unhook. Once unhooked the fabric can be lifted away from the foam as shown in the picture above. |
|
|
At this point there is nothing holding the foam (and fabric) to the chassis. If you lift the foam you will see a polystyrene support which can be removed... |

|
|
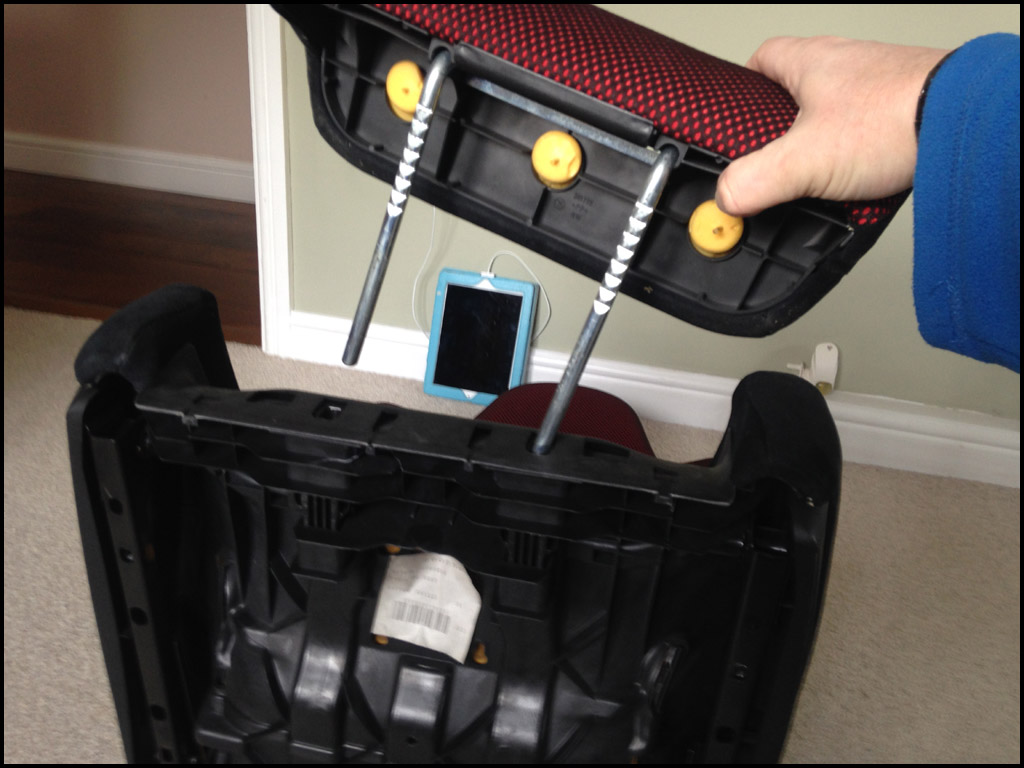
To remove the foam and fabric from the chassis sit the seat back upright. Take hold of the fabric above the bolsters and pull upwards, wriggling the cover and foam gently from side to side at the same time. The whole cover will lift upwards and away from the chassis... |
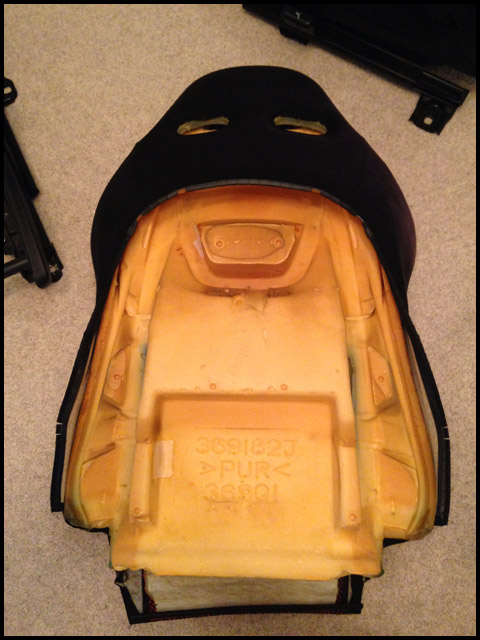
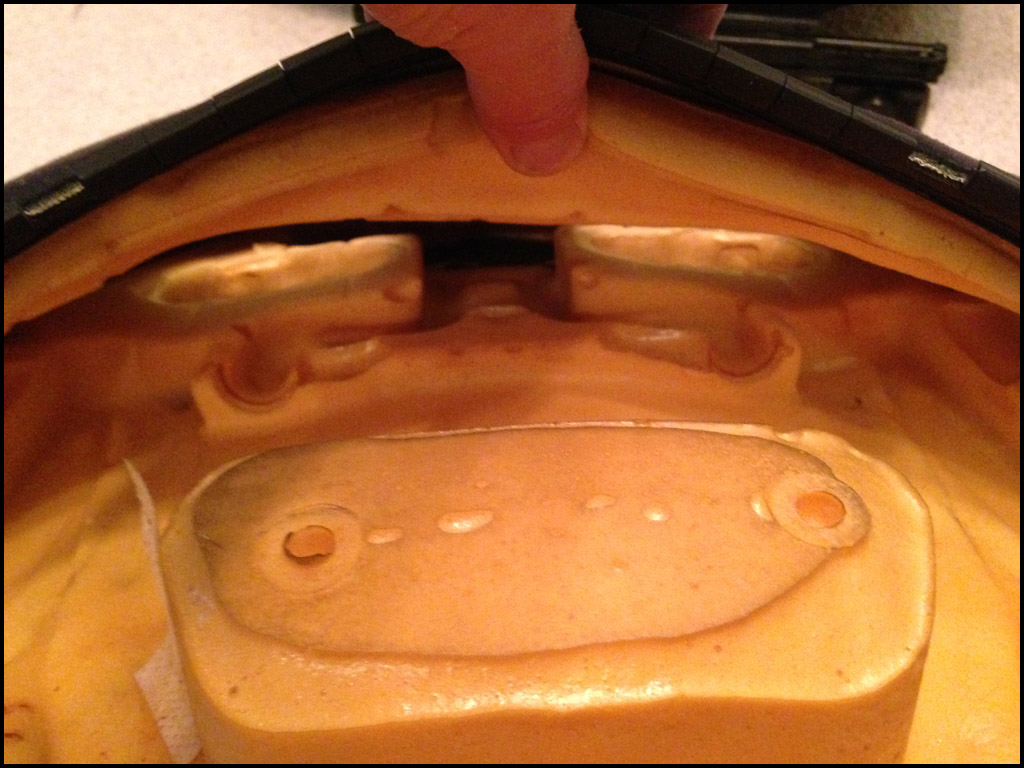
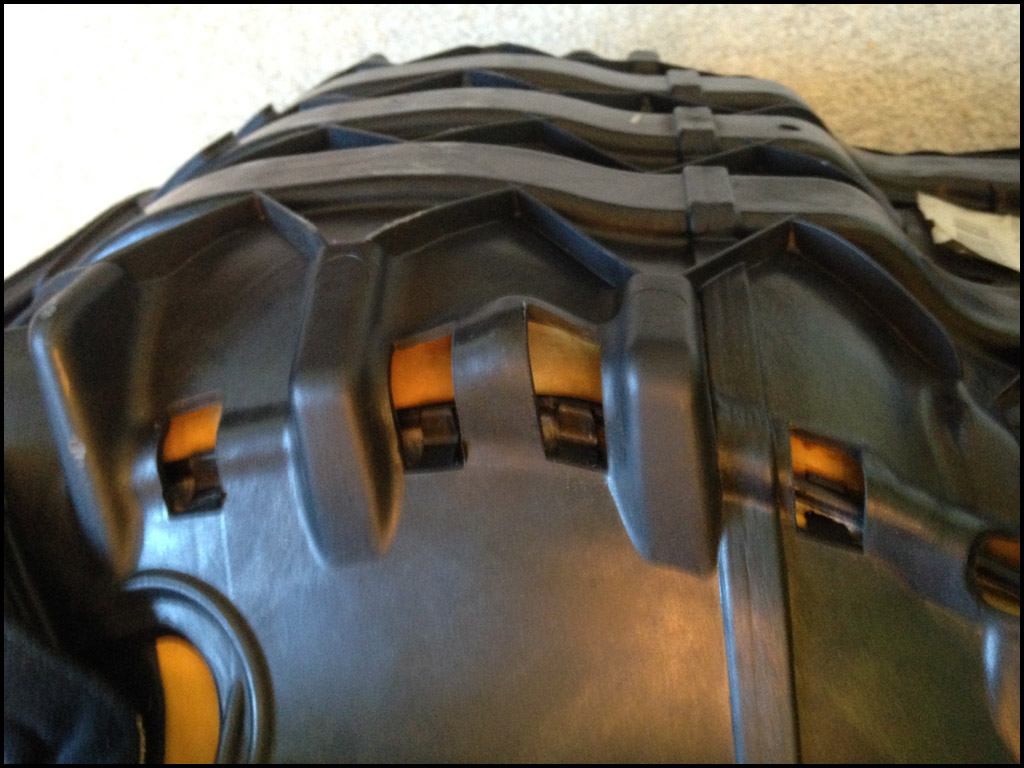
You can see the mouldings inside the foam... |
...and the corresponding sockets in the chassis... |
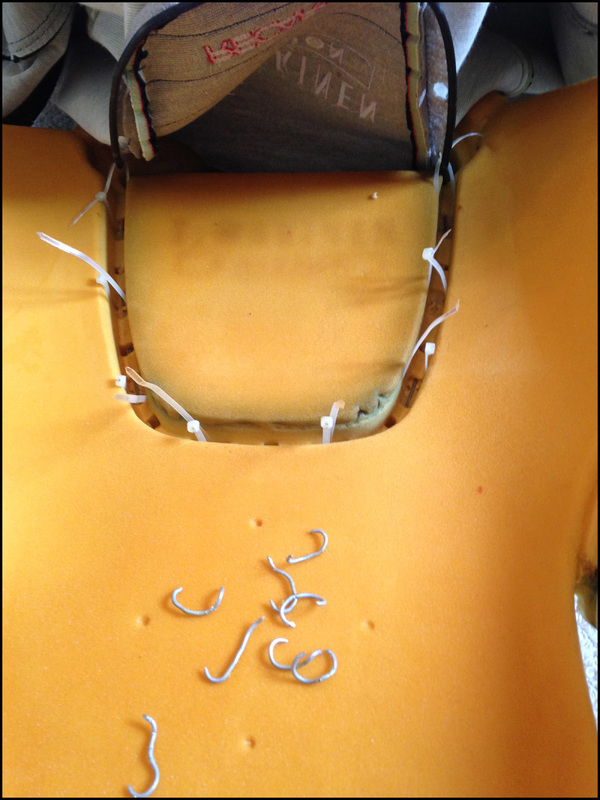
The fabric can be completely removed from the foam if desired but it is fiddly. Once again they are joined with the same metal rings as the base which have to be removed and replaced with ty-wraps upon reassembly. This is only in one section that is behind the emblem.
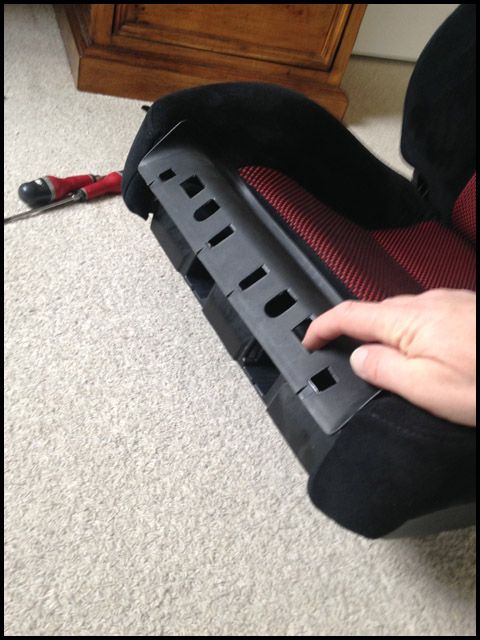
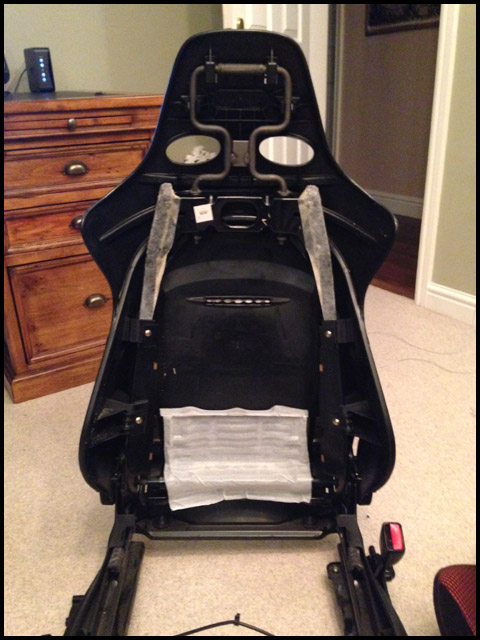
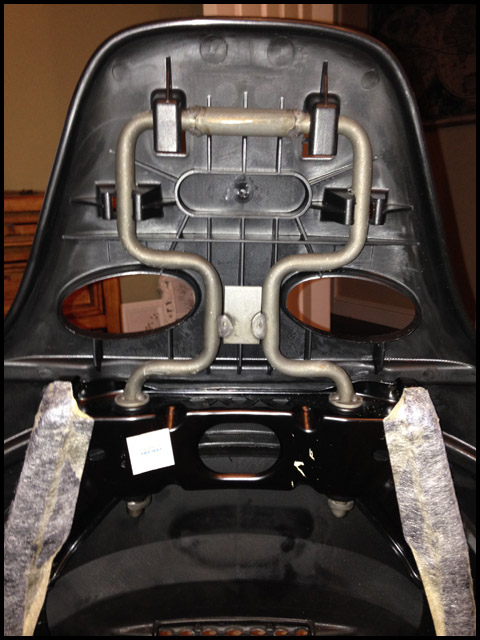
At this point the chassis is completely exposed and the plastic backing of the seat can easily be removed if you so wanted to. I did look to see if there was any way of tightening the mechanism to prevent the seats from adjusting themselves which is a common fault but there was nothing obvious to be seen.
At this point the chassis is completely exposed and the plastic backing of the seat can easily be removed if you so wanted to. I did look to see if there was any way of tightening the mechanism to prevent the seats from adjusting themselves which is a common fault but there was nothing obvious to be seen.
|
|
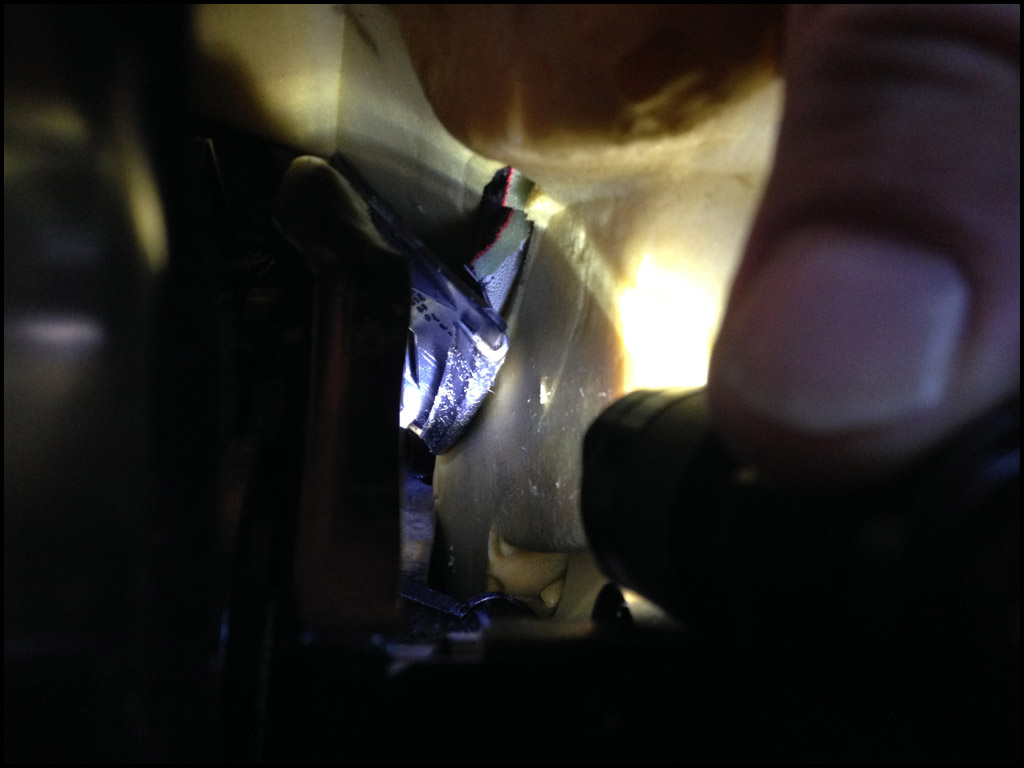
Re-Assembly is very much a reversal of the dismantling. Once the foam is slid back onto the chassis i laid the seat on its back. I replaced the polystyrene support and re-attached the plastic channels on the inside of the fabric to the plastic rails at each side. Using a torch if you lift the foam and look up the inside you can double check that they are attached all the way...
|


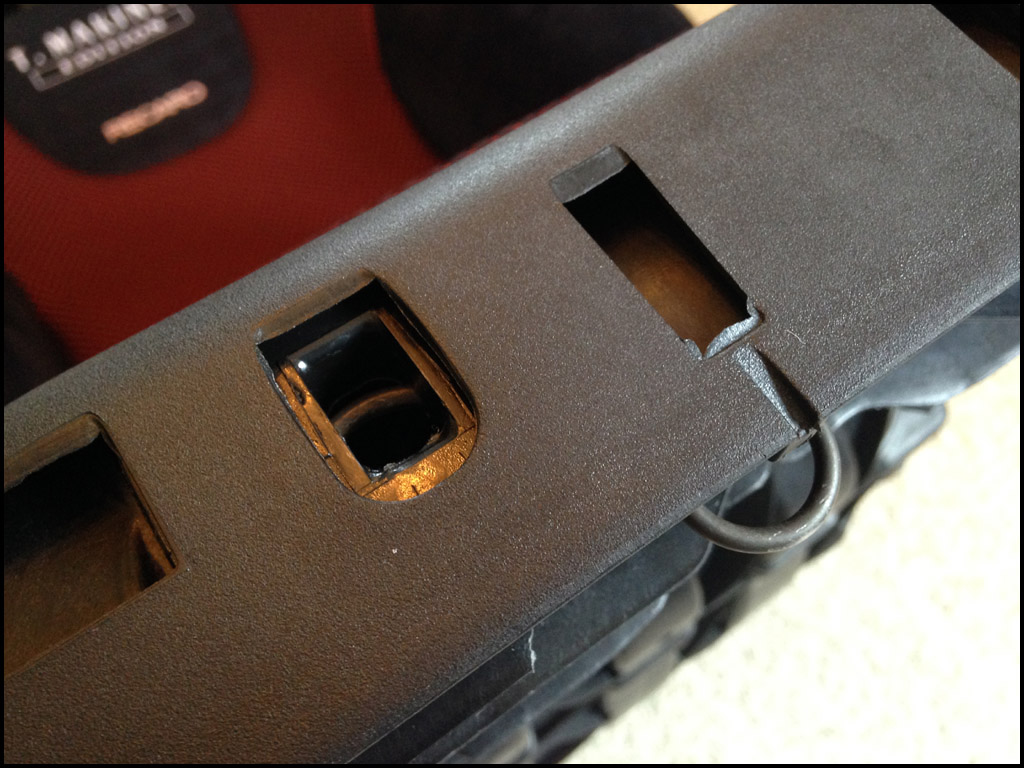
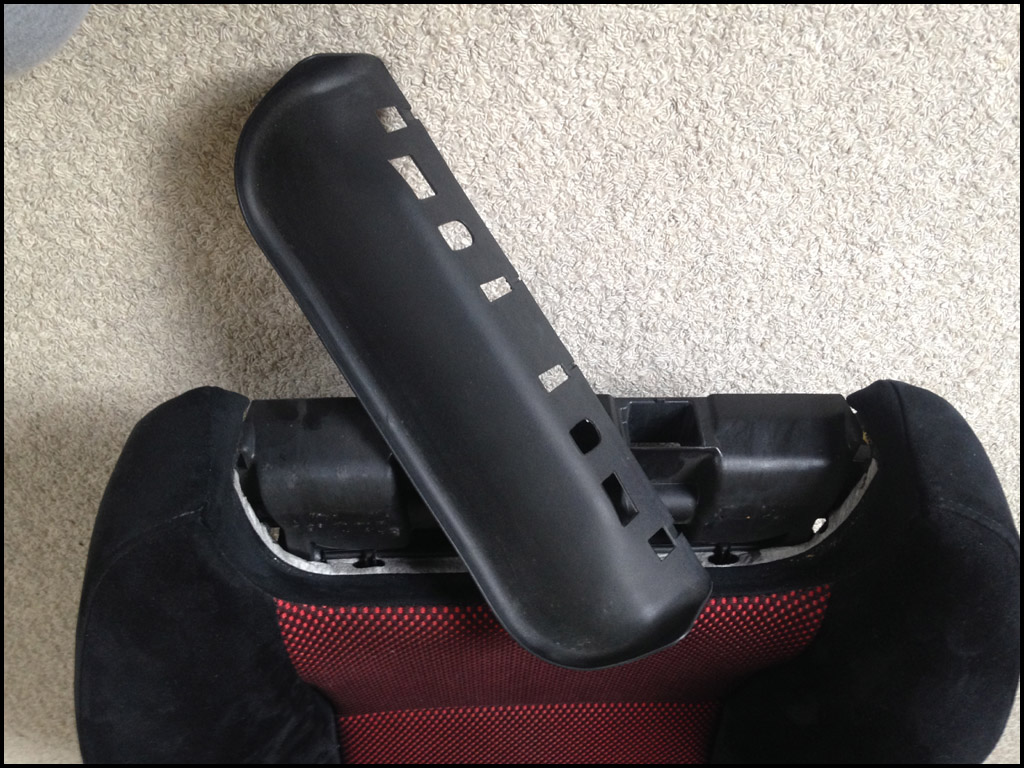
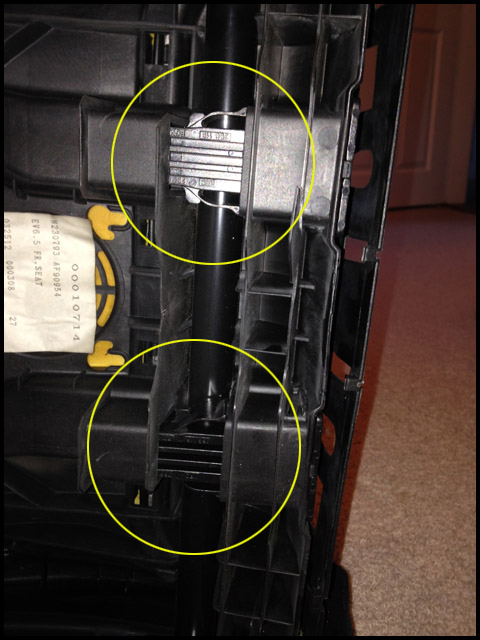
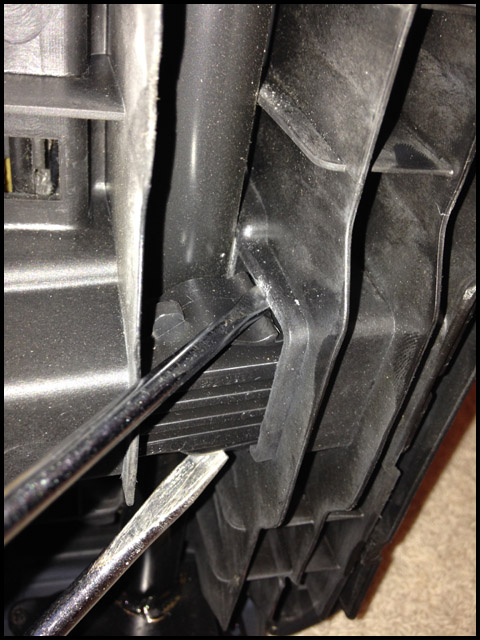
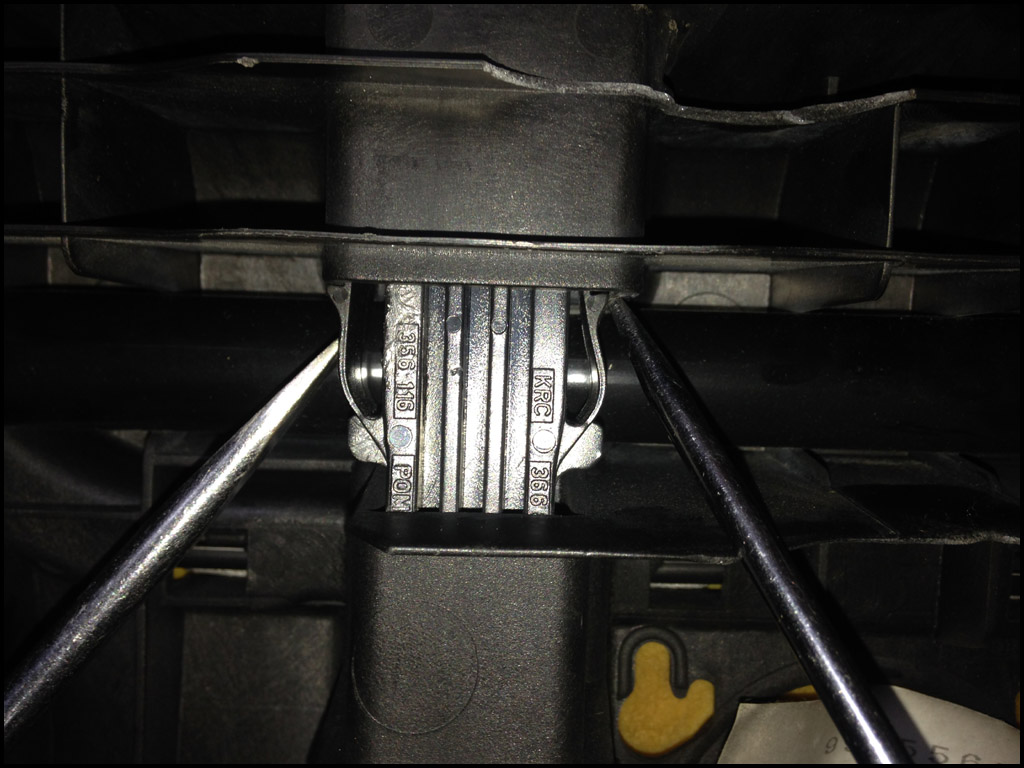
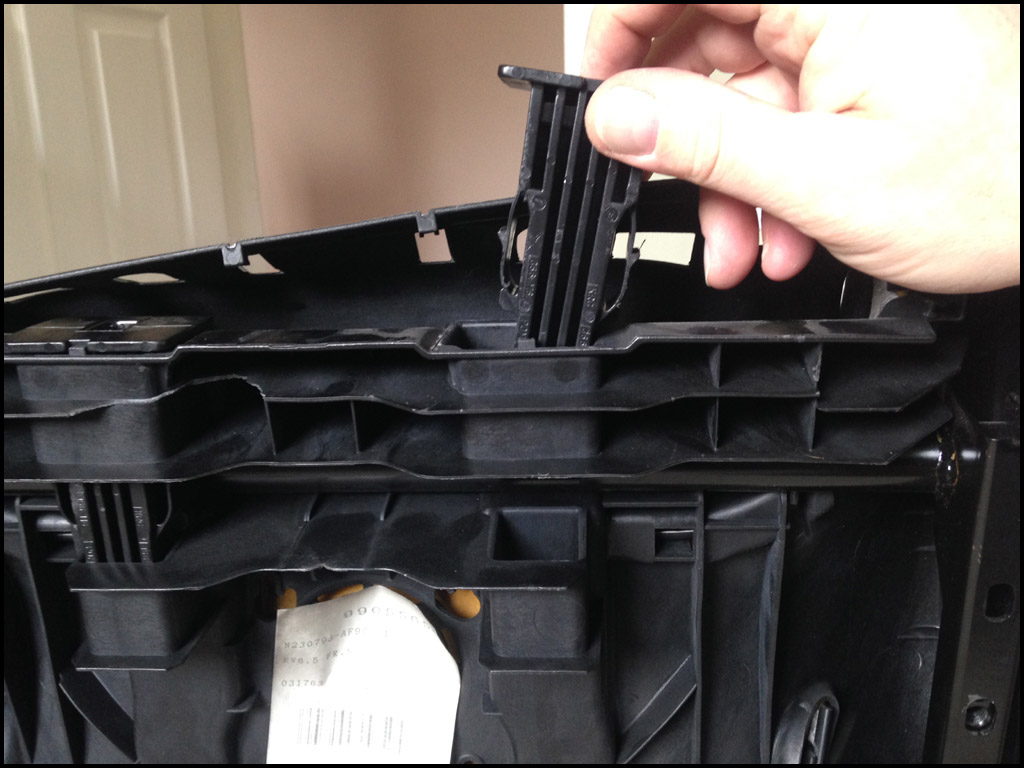
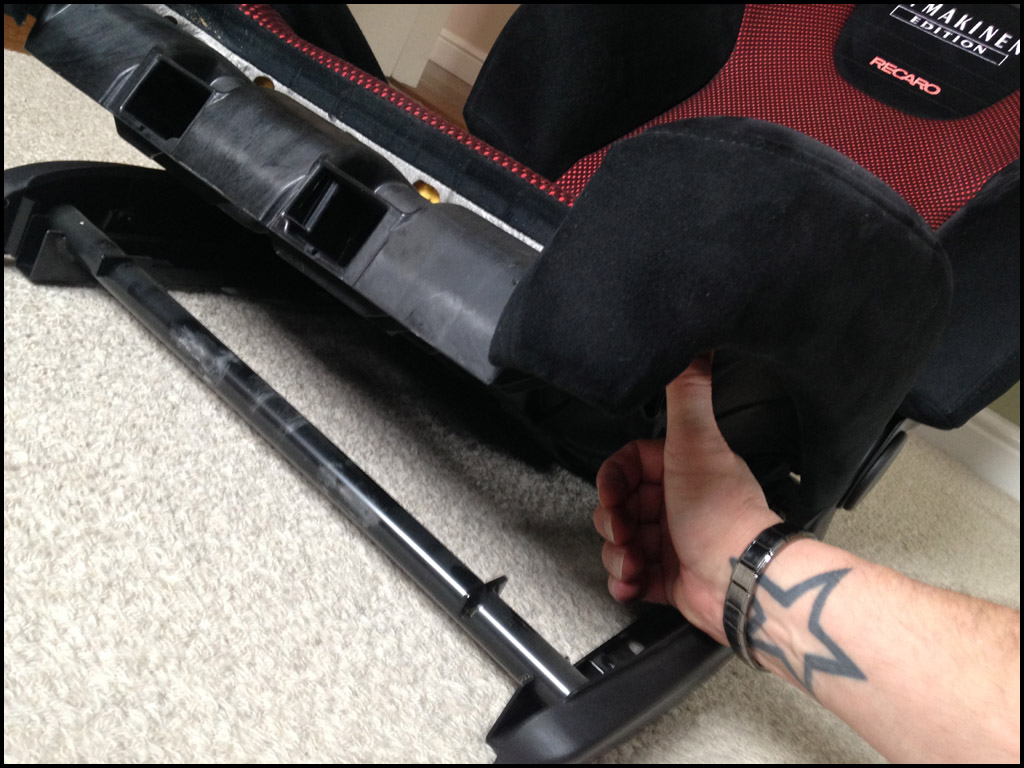
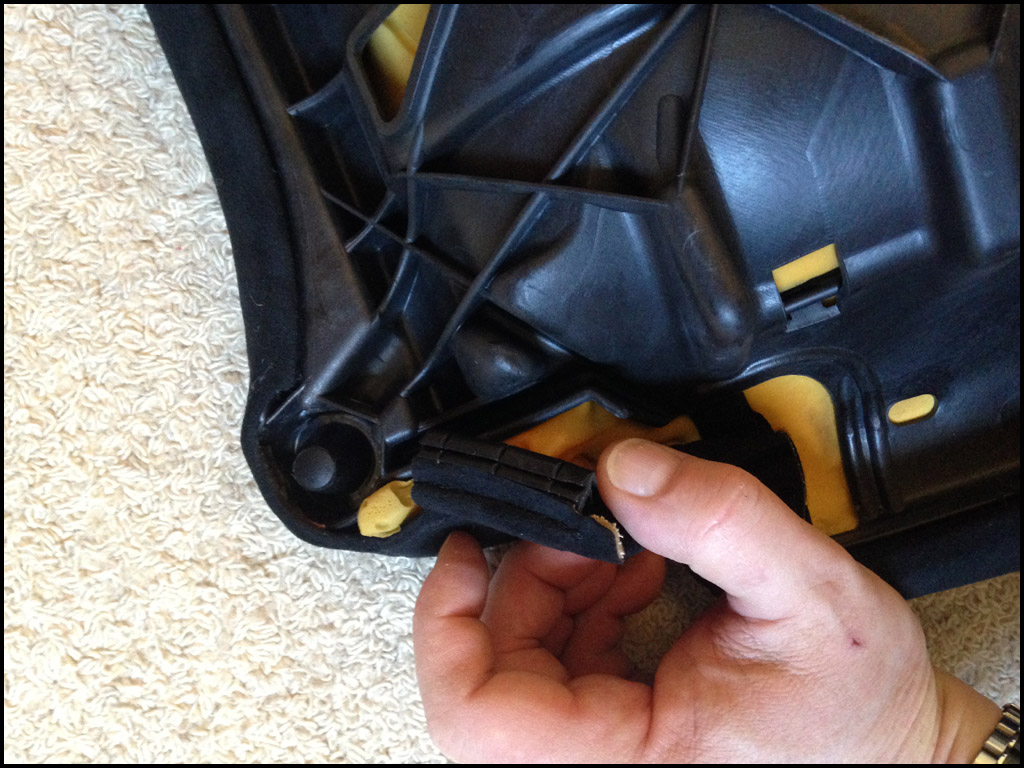
The only other thing to note is the two R-clips that are removed at the very start – the ones which hold the leg extension in place – refit them....
....and then fit the leg extension. Initially i re-installed the extension then whacked the R clips back in place. No need and so much easier to do it the other way around.
....and then fit the leg extension. Initially i re-installed the extension then whacked the R clips back in place. No need and so much easier to do it the other way around.
