Sound Deadening / Door Card Removal
From the factory all cars are built to a budget. If a cars average owner doesn't require something, its unlikely the car will have it as standard. This can certainly be said of an average cars sound system in relation to its soundproofing, in that oem systems dont require much soundproofing as the performance level is not high enough to warrant it. This guide covers front door card removal and the installation of anti-vibration matting. The matting helps keep rattles down, and gives your sound system a fuller, less tinny sound. The offset is the cost, and also the weight. Not so bad in a road going car it has to be said, but you wouldn't want it for that reason in a track focused vehicle.
The doors interior cards are fairly easy to remove, and only require a philips driver, and a small straight driver. First undo all the visible screws, and remove the inner handle as detailed below. After this has been done the only thing holing the cards in place are a few press-stud type clips. Pulling firmly on the bottom of the card will free these.
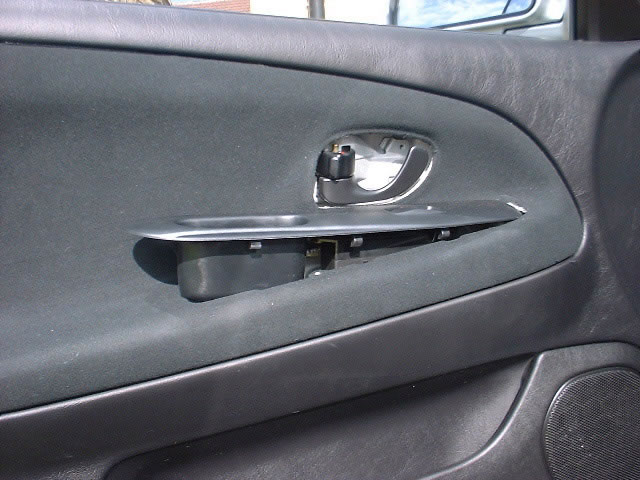
The door handle is removed by un tightening the philips screw at the bottom of the handle and lifting the whole lot out from the rear first. When you have lifted it as far as is shown in the photo opposite, pulling it towards the rear of the door will free it completely.

Once the card has been pulled out at the bottom and freed from the press-studs, it can be completely removed by lifting upwards.
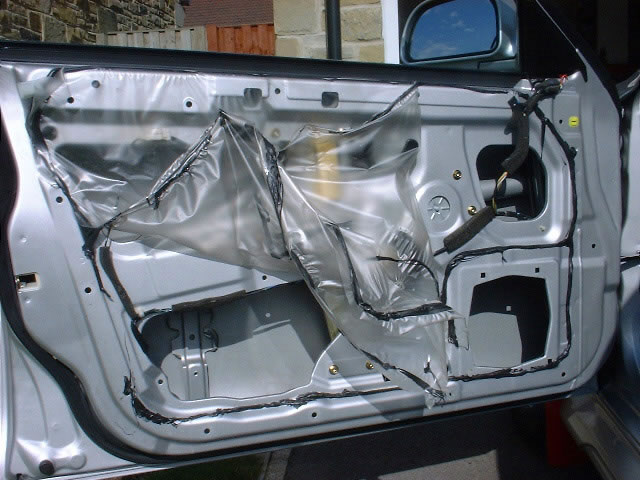
The inner plastic water guard can easily be removed by gently pulling it away from the black tar holding it in place.
Take care so as to not get the tart everywhere, as it is very stringy and tends to stick to anything it comes into contact wth.
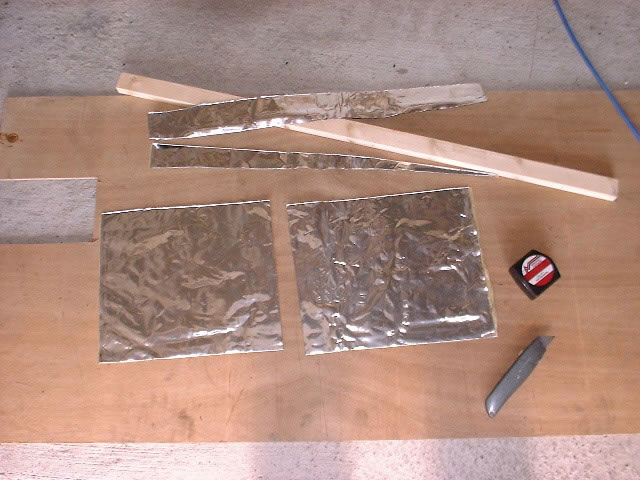
Using a sheet of plywood it is easy to lay the sound proofing material out for cutting with a Stanley knife in conjunction with a straight edge, in this case a piece of wood.
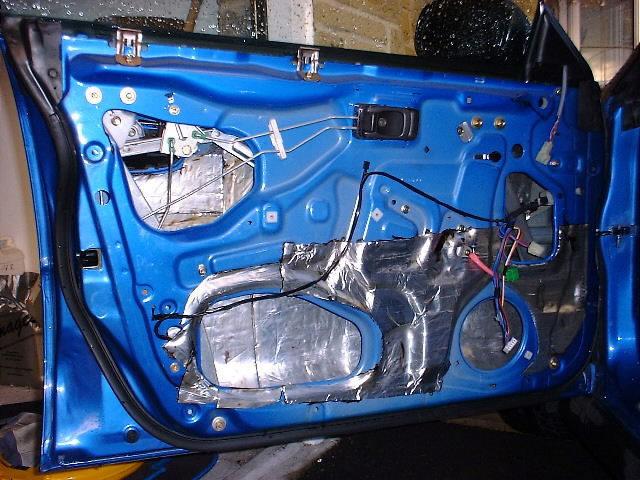
Once the inside surface of the door has been cleaned using white spirit or similar, then the cut pieces of soundproofing can be put into position.
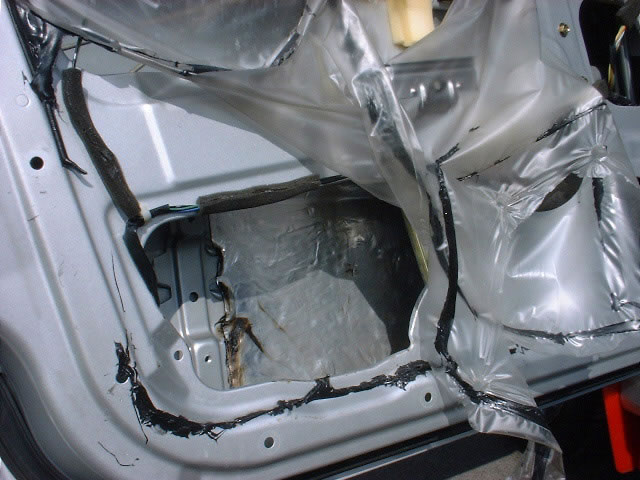
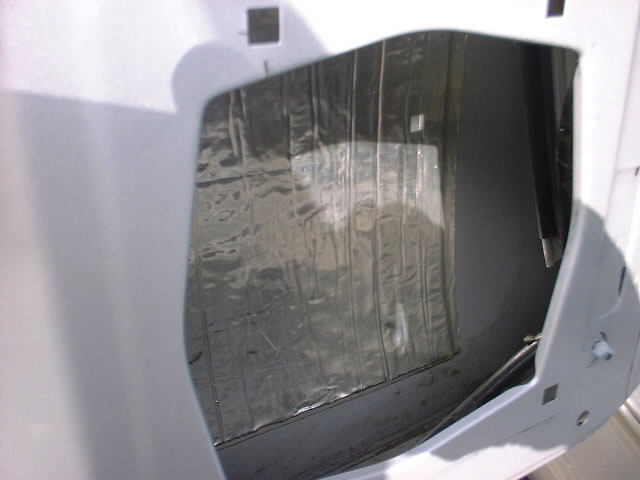
Using a heat gun, apply enough heat to the pieces to the melt the tar on the reverse side of the material - keep moving the heat gun continuously to avoid hot spots that potentially could also remove the paint from the outside of the door. (!!!) Once the piece is hot enough, apply firm pressure using a thick industrial leather glove, or roller, and rub/roll the entire surface to get maximum adhesion to the door. The better the adhesion the better the sound deadening will be!

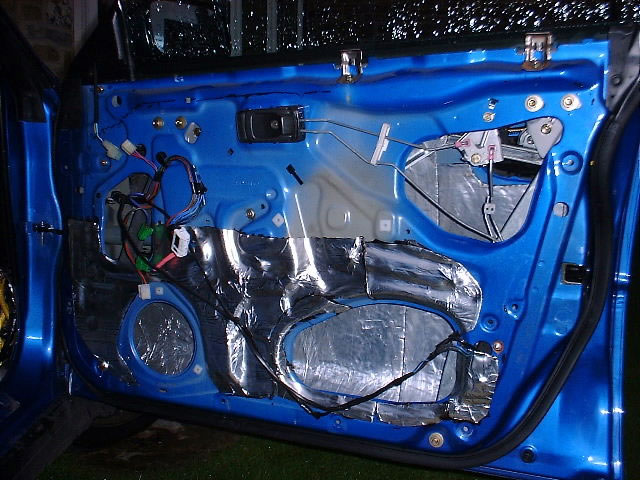
Up to three layers can be applied. Directly behind the speaker you will need at least two layers, as this is where most of the vibration will be. The sound deadening can also be applied around the speaker mounting points - in the picture opposite i have used the 'left over' pieces to good use, as you can see.
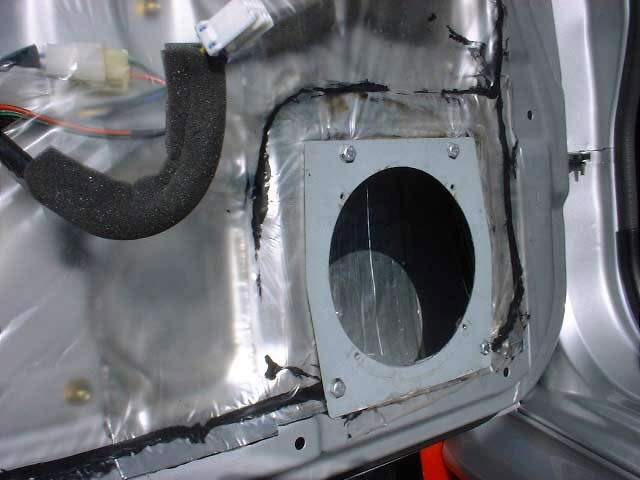
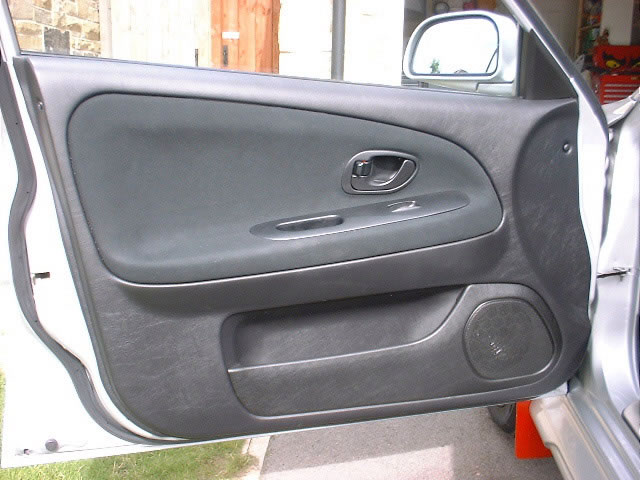
Fit suitable bracket/housing for speaker to fasten to.
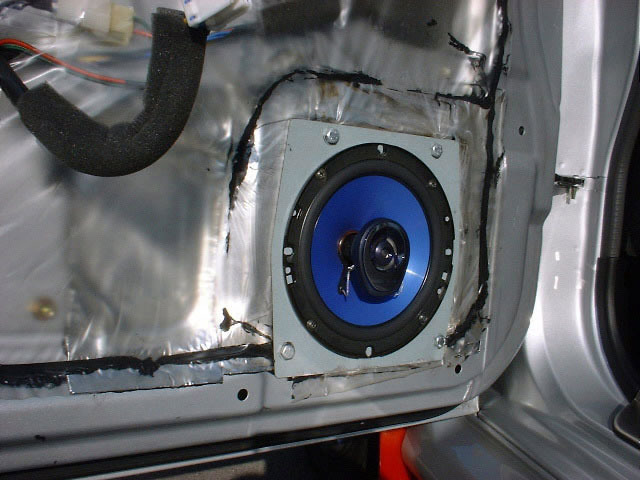
Connect and mount speaker - replace door card in reverse order to removing it.
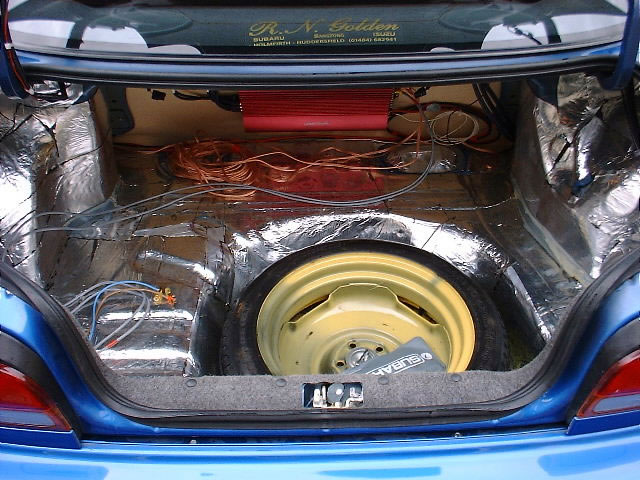
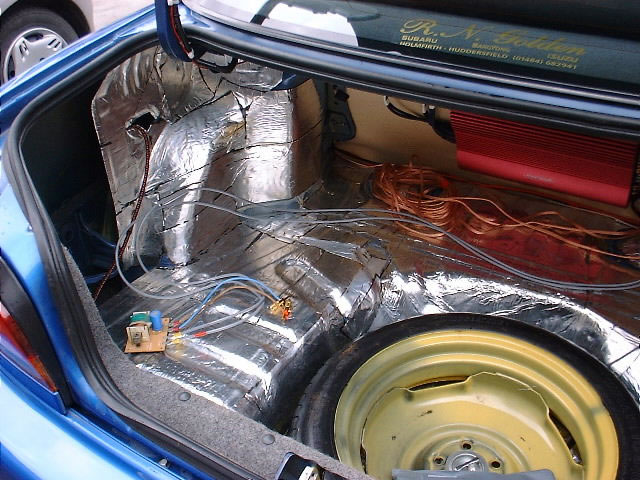
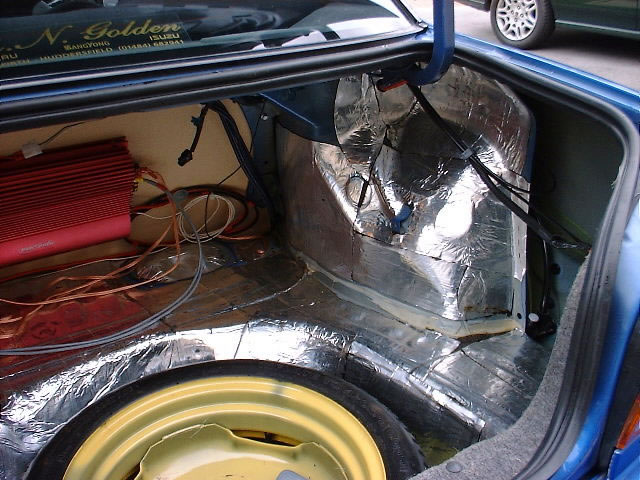
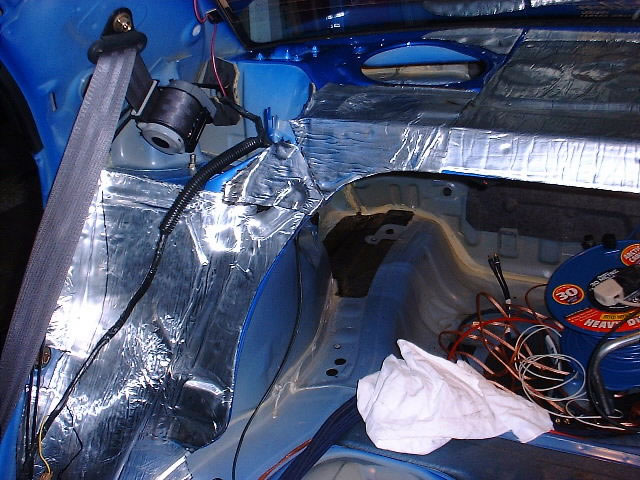
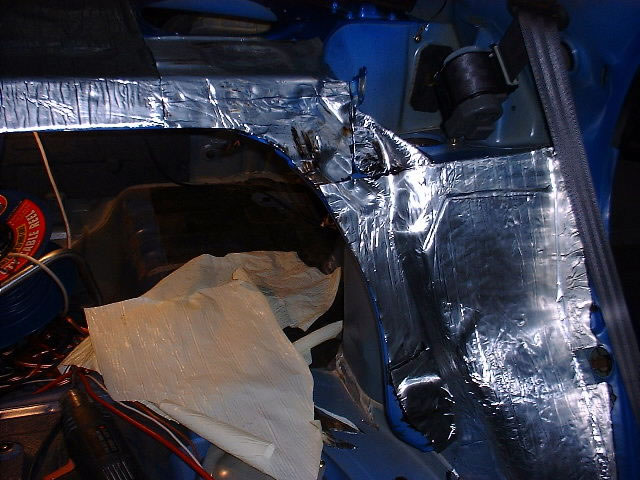
Here's some photographs of My old Impreza.
The more sound deadening the better the sound will be from the stereo, you can take it as far as you like....
The more sound deadening the better the sound will be from the stereo, you can take it as far as you like....